VMware Wosktation allows to run ESXi as virtual machine (virtual environment as virtual machine – kind of funny). It can be very useful to evaluate, experiment and learn vSphere at home. This can be also very helpful if we want ot run virtual appliances which are compatible with ESX only. I will show how easy is to install ESXi 5 as virtual machine on VMware Workstation 9.
First step is to register on VMware portal and download vSphere Hypervizor (ESXi) – current version when that article is written is version 5. Once you register and download software VMware will issue serial number for ESXi as this software is available for free with limited number of features – for details check article on VMware web page “VMware vSphere Architectures Compared“.
Once software is downloaded it’s time to create virtual machine on VMware Workstation. For that in VMware Workstation console go to File and click New Virtual Machine…
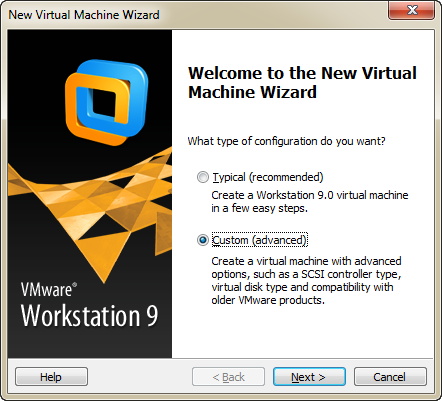
New Virtual Machine Wizard will start and allow you to choose Typical (recommended) or Custom (advanced) configuration for new virtual machine. Choose Custom (advanced) and click Next.
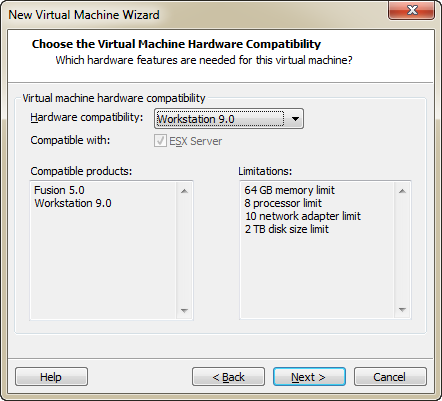
Next screen gives us ability to choose hardware compatibility for virtual machine components. By default it is set to Workstation 9.0 and we leave it that way. Click Next to proceed with New Virtual Machine Wizard.
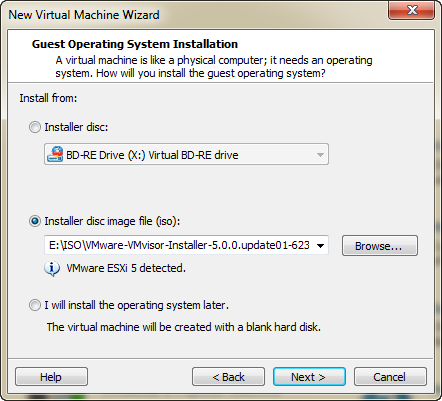
Now it’s time to indicate source of installation media for operating system for our new virtual machine. I have all ISO images located in E:\ISO and image for ESXi Hypervisor installation is named VMware-VMvisor-Installer-5.0.0.update01-623860.x86_64.iso, so I indicate that as source of installation files. As you can see on screen below VMware Workstation automatically detected that I want to install VMware ESXi 5. Once installation image is defined click Next to proceed to next step of virtual machine creation process.
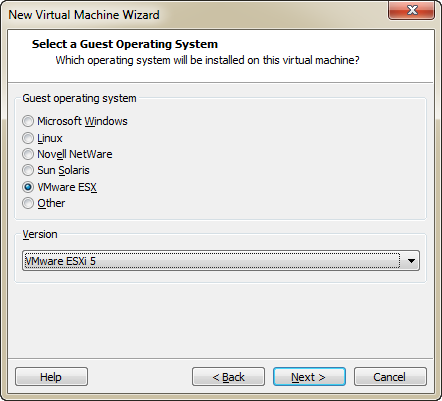
Now make sure you have correct operating system selected for guest. As we installing ESXi 5 indicate VMware ESX / VMware ESXi 5 as Guest Operating System and click Next to proceed.
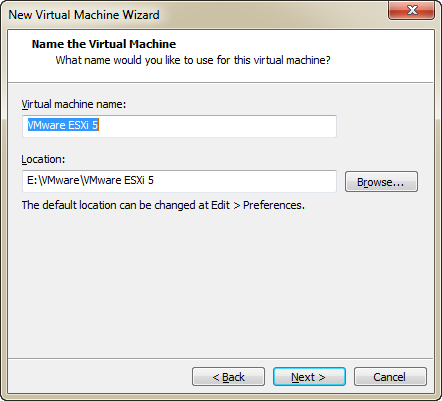
Now it’s time to assign name for our virtual machine (by default VMware Workstation will generate name based on Guest Operating system choice). Adjust name and path for your virtual machine accordingly and click Next to proceed. In this example I will stay with default name and location (I have all virtual machines stored in E:\VMware).
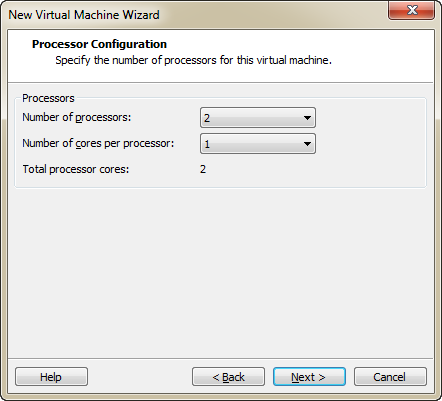
Processor Configuration allows to configure number of processors and cores per processor virtual machine will have. By default VMware Workstation 9.0 will propose 2 processors with 1 core per processor for ESXi 5. let’s stick with this and click Next to proceed.
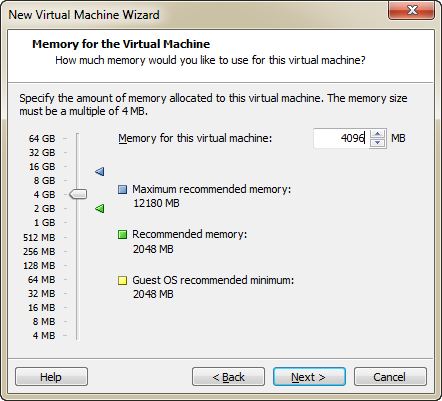
Our virtual machine needs some memory as well, so I assign 4096MB (4GB) of memory, so once ESXi will be installed I will have some resources to run some virtual machines on it for testing purposes. Amount of memory assigned to guest operating system depends of course how much memory your machine has. Once amount of memory is defined click Next to proceed.
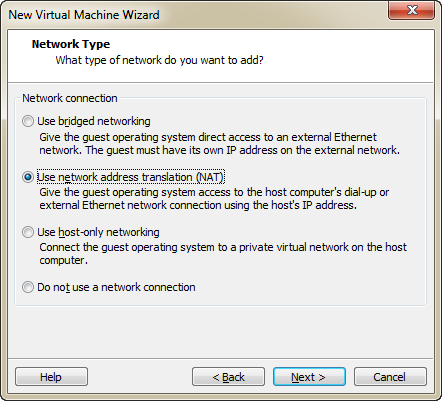
Network configuration on next screen by default indicates Use network address translation (NAT) for new virtual machine. This is most convenient option if you want to have connectivity from virtual machine and networking on VMware Workstation is in default post installation state. With more advanced configurations you might want to assign network to some other virtual interface if you have some structure prepared for test systems. For now we choose NAT and click Next to proceed.
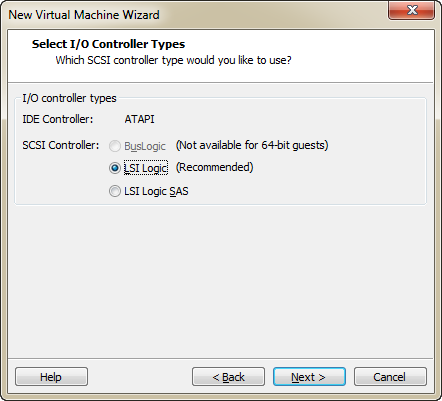
Hard disk controller type is proposed by VMware Workstation based on Guest Operating System indicated earlier, so we can leave it as recommended and click Next to proceed.
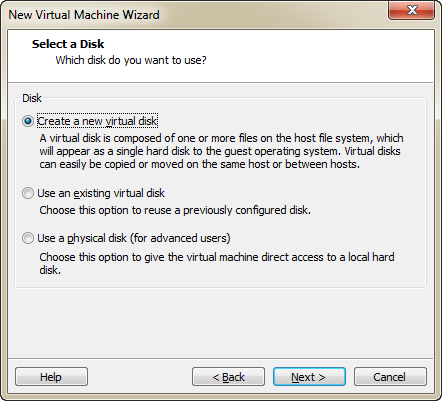
As we creating new virtual machine there is no hard disk for it yet. It is time to indicate to VMware Workstation to Create a new virtual hard disk and then click Next to proceed.
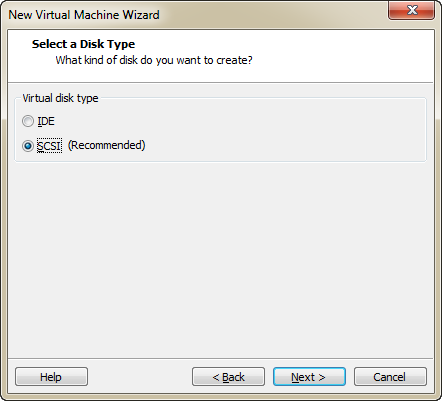
Recommended type of hard disk for our ESXi is SCSI hard disk, so we stick with this and click Next to proceed.
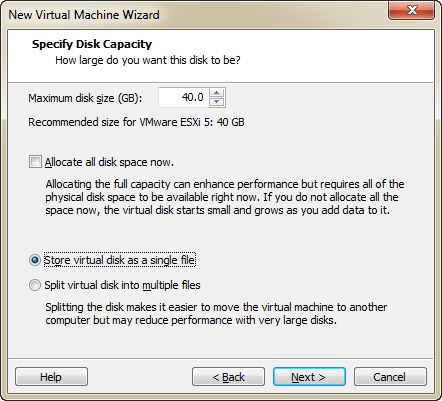
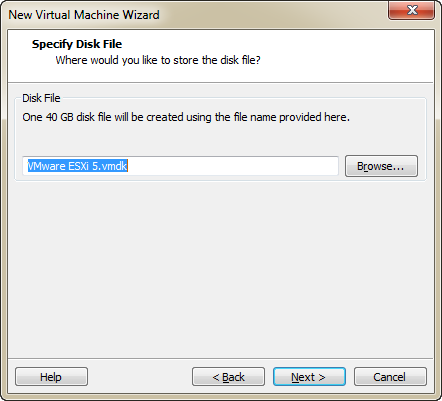
As my plan is to run relatively small virtual machines on virtualized ESXi platform I go with 40GB as maximum disk size. I also decide to Store virtual disk as a single file. Then click Next to proceed.
Once all parameters for virtual hard disk are defined it’s time to define location for file which will store content of the virtual hard disk and also name virtual hard disk file. I will stick with default name proposed by VMware Workstation and will not change location of the file, which means file will be stored in default virtual machine folder. Then click Next to proceed.
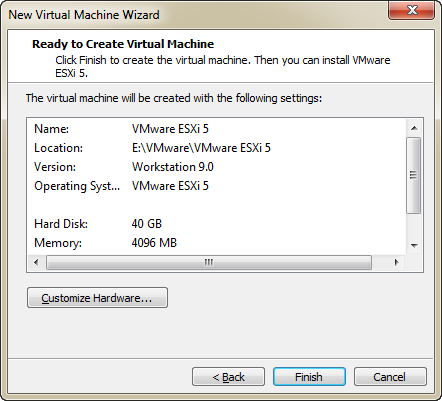
Now summary screen, click Finish and we ready to turn on our virtual machine 🙂
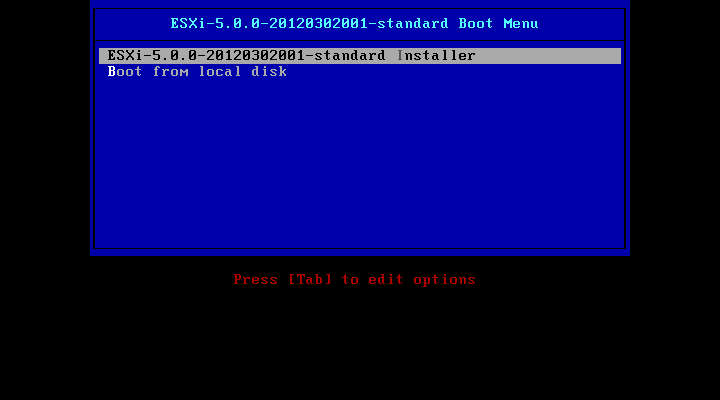
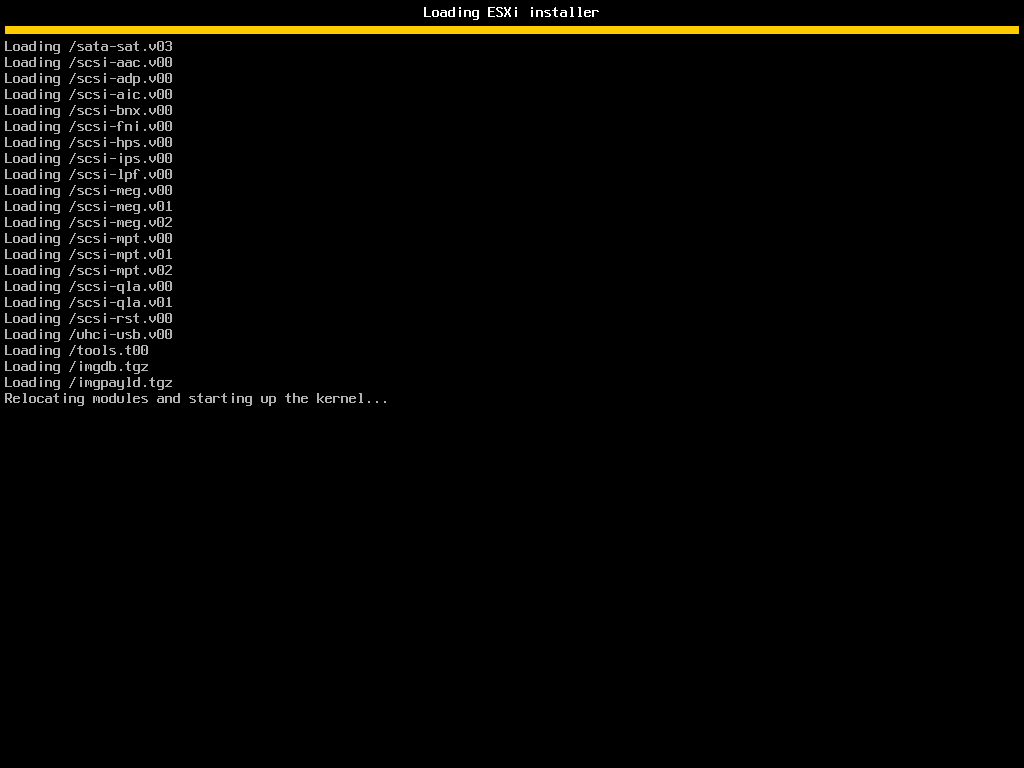
Once virtual machine is powered on ESXi boot loader will show up for a while and after few seconds installer will start loading.
You can observe progress of ESXi installed loading and track information about modules which are loaded during that stage.
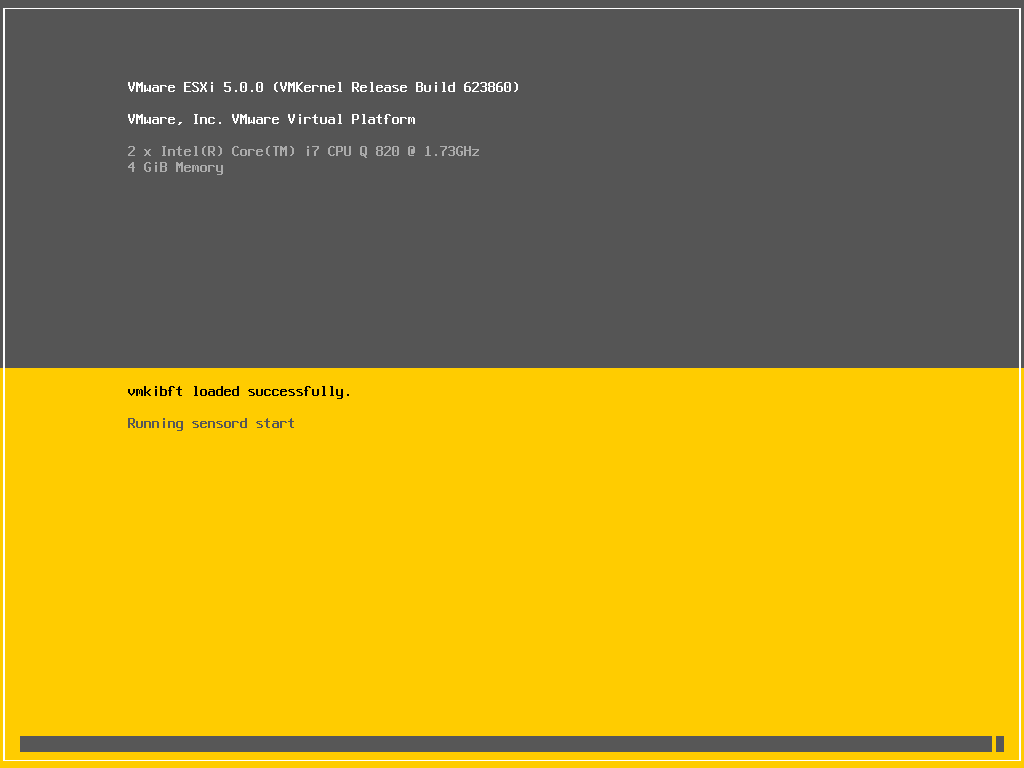
After a while installer will display much nicer screen with basic information about system on which installation takes place (number and type of processors, amount of memory). At the bottom of the screen progress bar will indicate how far from installer being loaded are we.
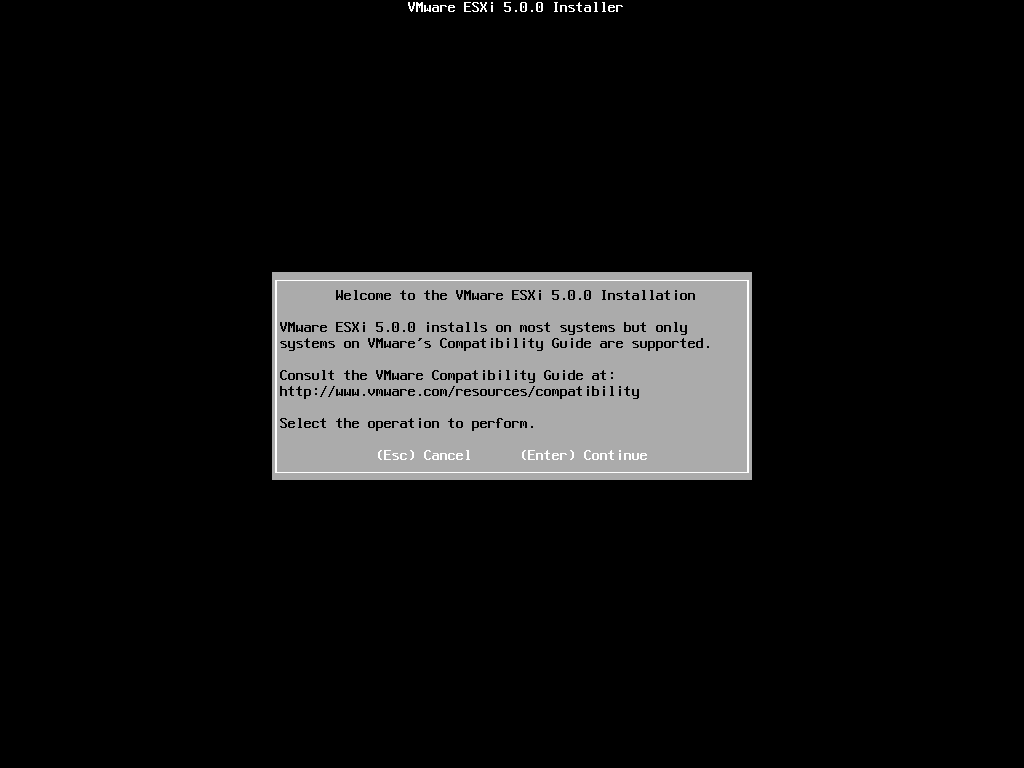
Once installer is loaded Welcome to the VMware ESXi 5.0.0 Installation dialog window shows. Press Enter to continue or if you want to cancel installation the Esc.
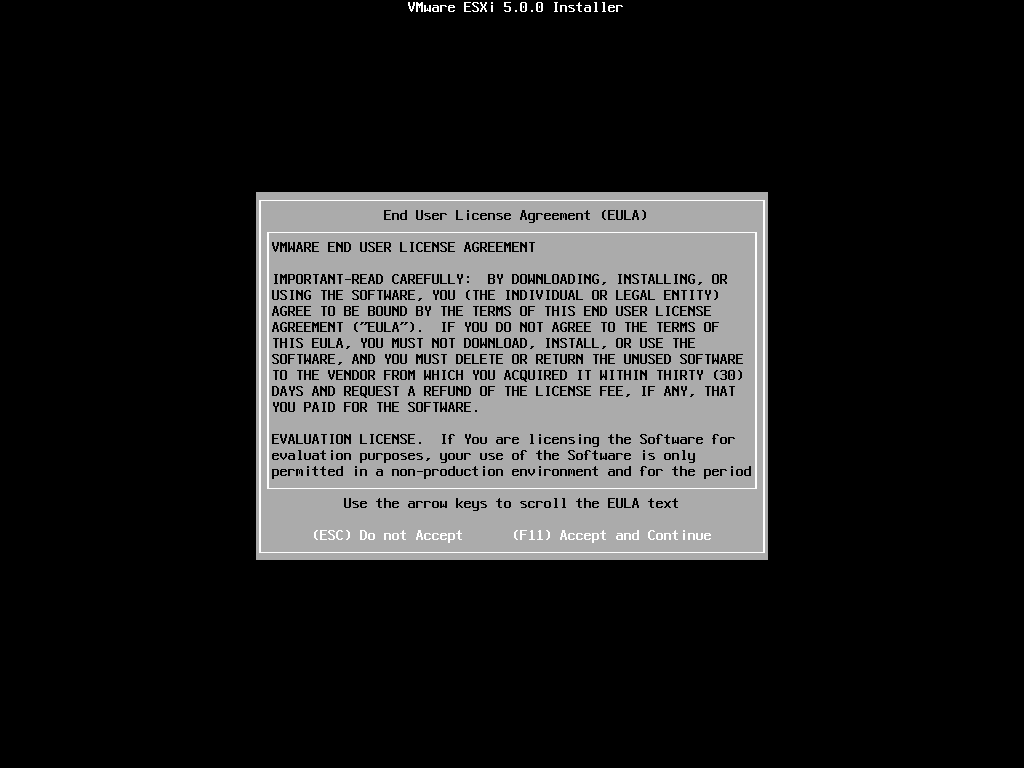
Before ESXi will be installed of course mandatory is to accept terms and conditions of EULA. Press F11 to confirm that you agree and to proceed with installation.
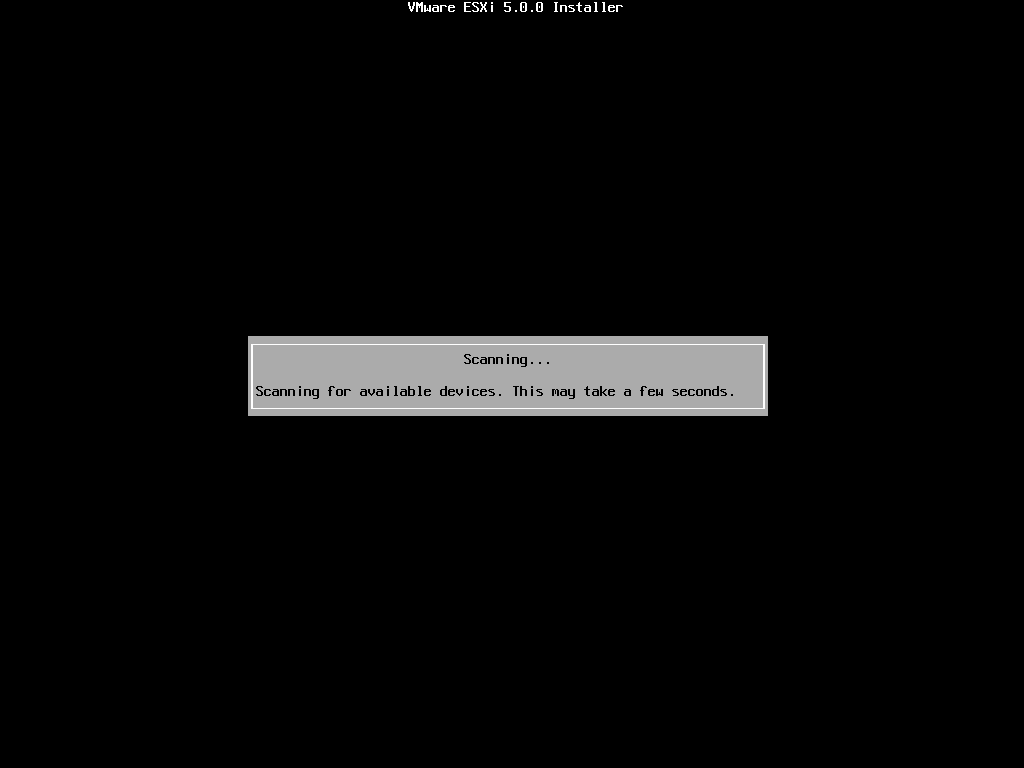
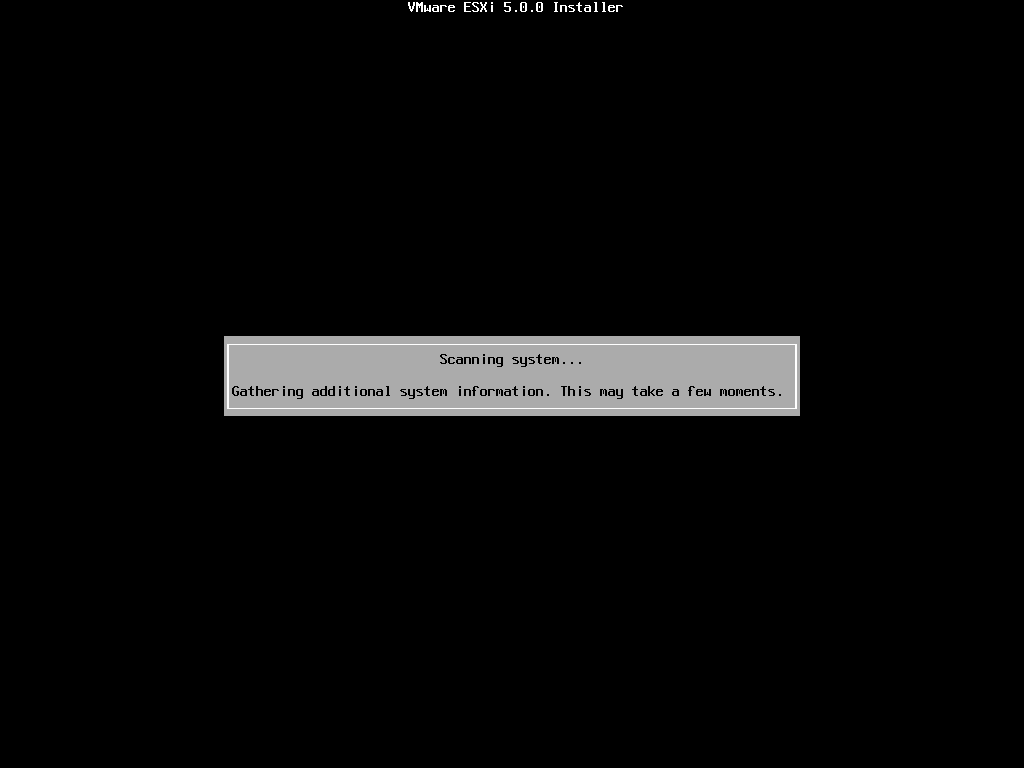
Installer will scan system to identify all devices and select appropriate drivers for components in our system.
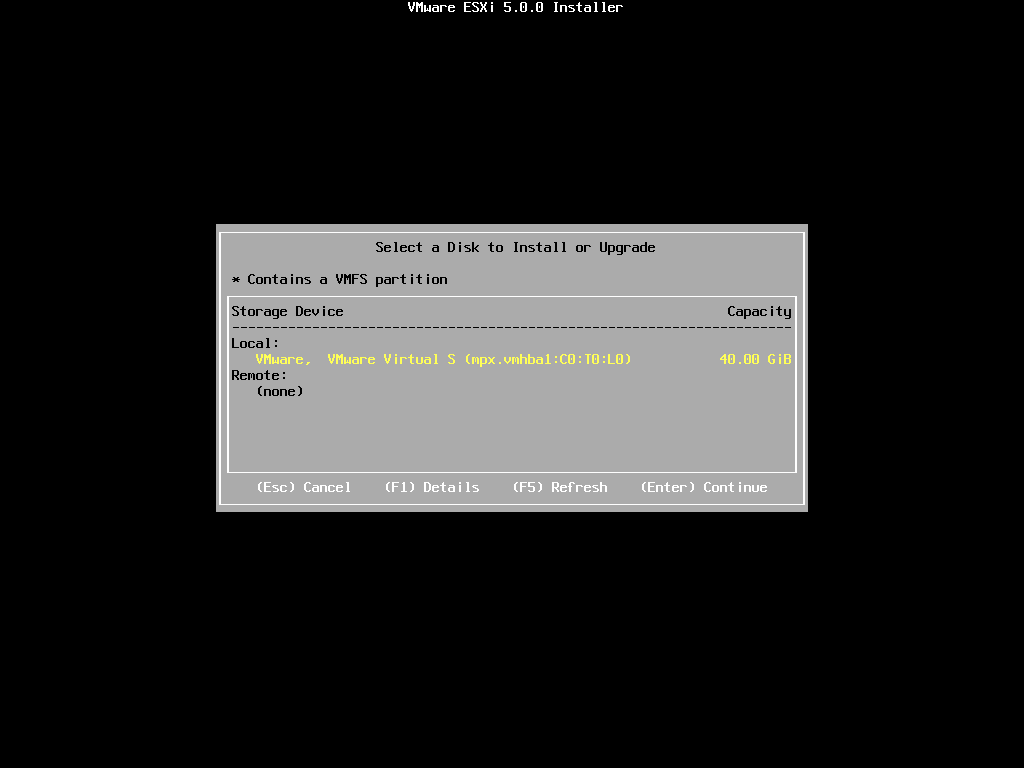
One of the components detected will be hard disk and we can decide on which hard disk we want to install ESXi. As there is only one hard disk in our ESXi just press Enter to proceed with installation (if ESXi would have more hard disks then it is possible to decide where ESXi Hypervisor will be placed and which space will be used for virtual machines hosted by ESXi. In that case as there is only one hard disk choice is simple).
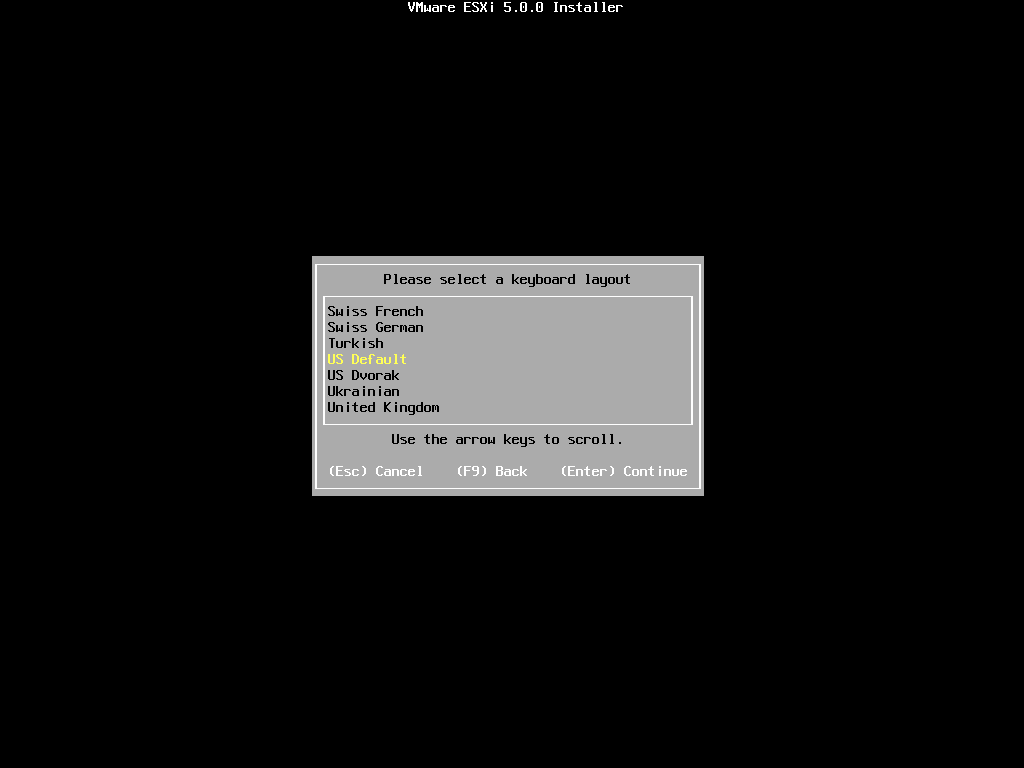
Keyboard layout choice is next step of installation process. Locate layout you want to use on the list, highlight it and press Enter to continue.
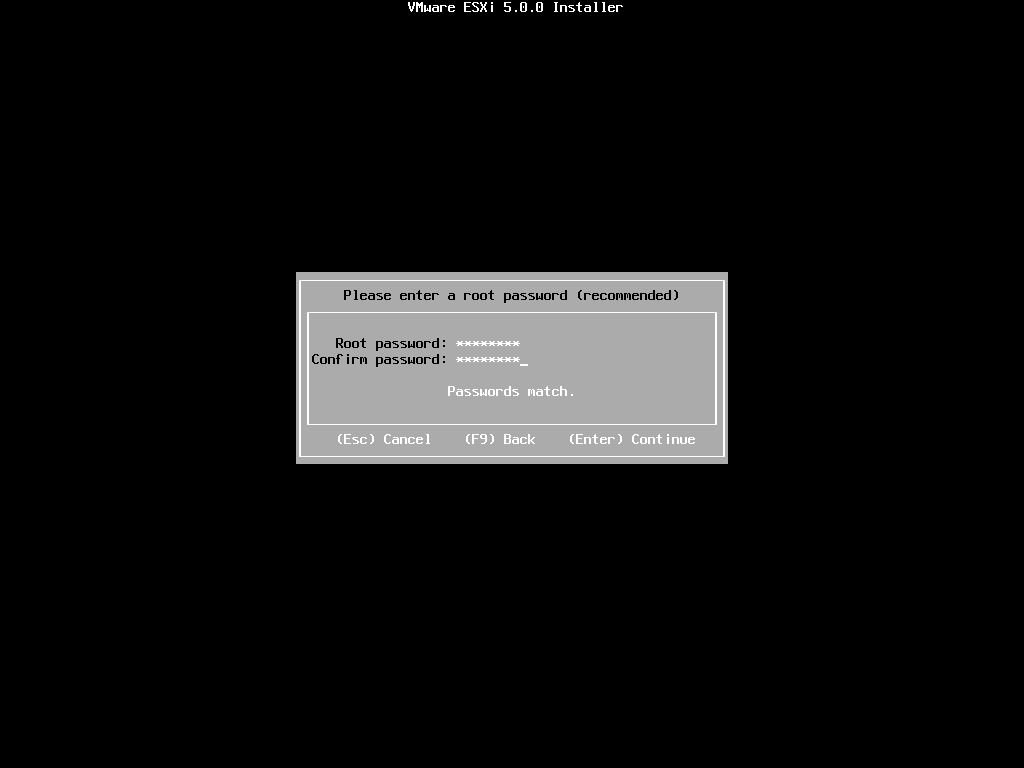
Now ESXi requires password for root user. It is highly recommended not to leave root password blank.
All details provided, now last scan before final decision about ESXi installation.
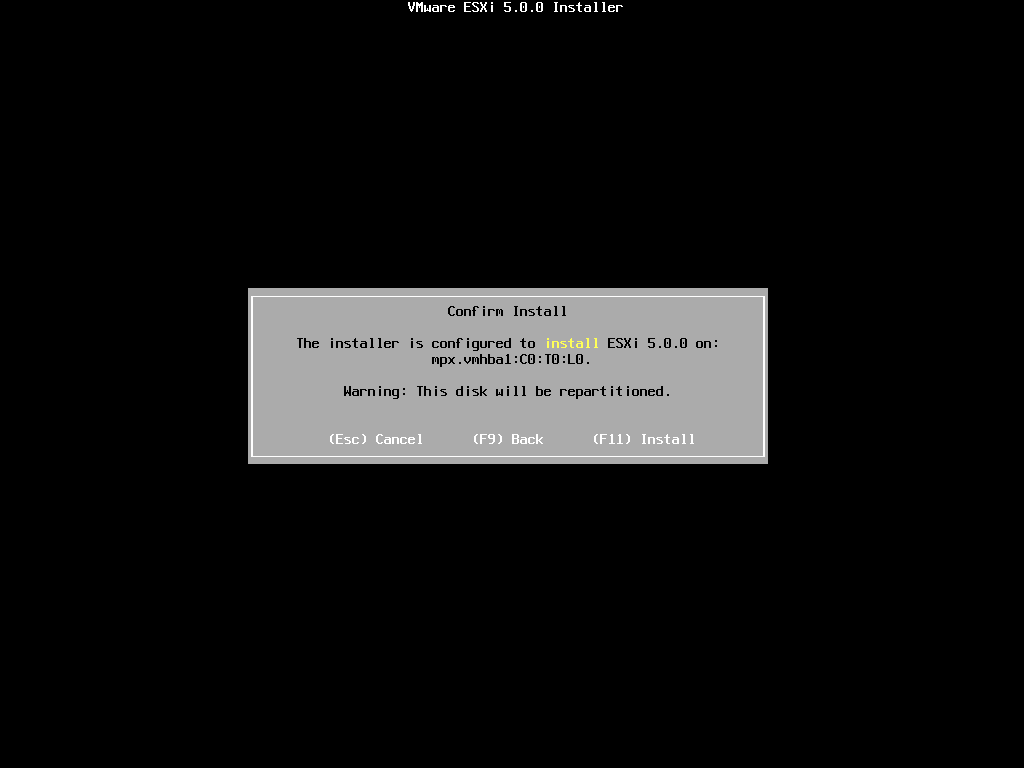
And now final decision… ESXi installer informs that whole content of the hard disk will be lost as disk will be repartitioned. Press F11 to agree and proceed with installation.
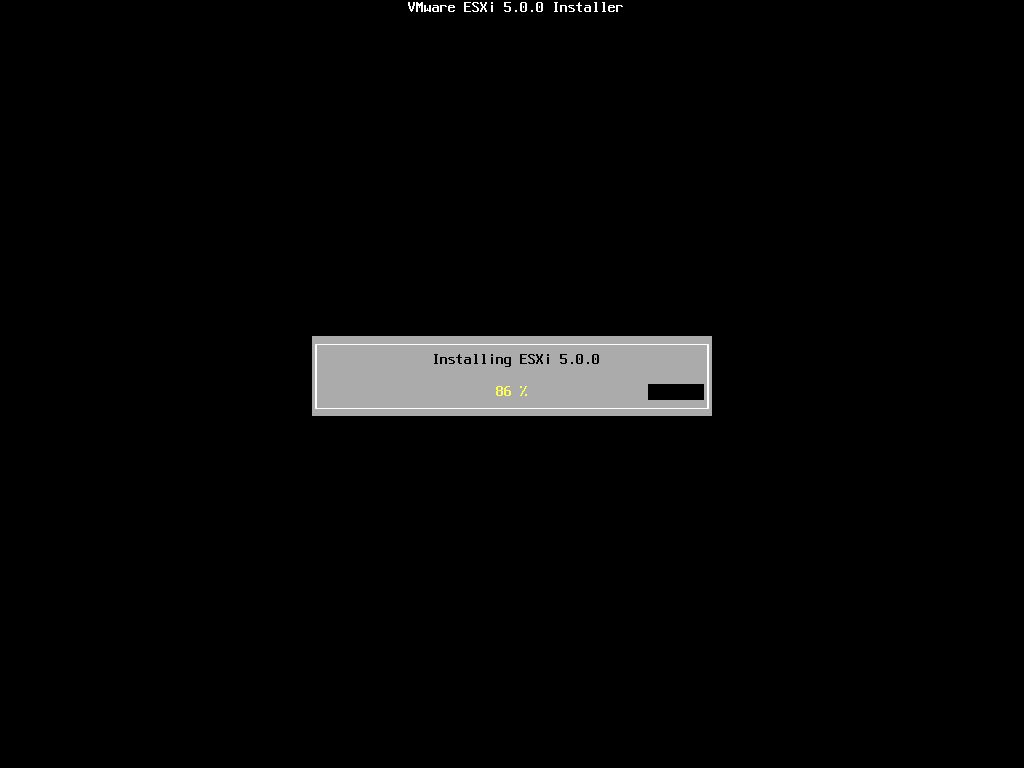
Installer prepared hard disk and is copying hypervisor files. It might take few minutes.
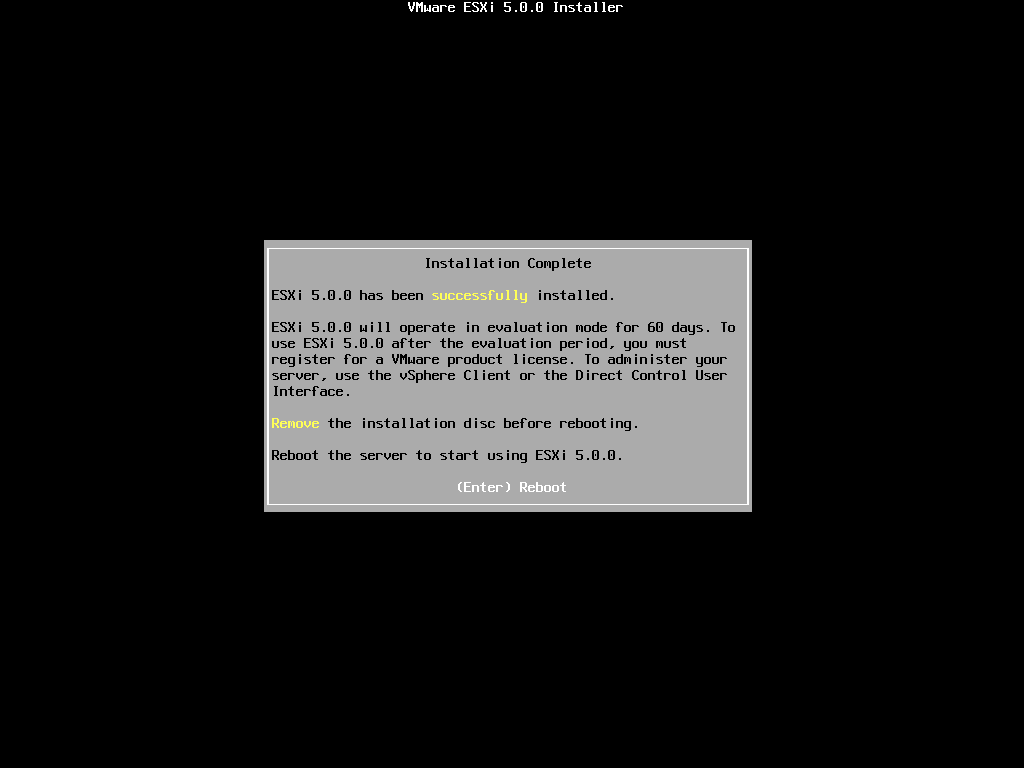
Once installation is finished press Enter to reboot system.
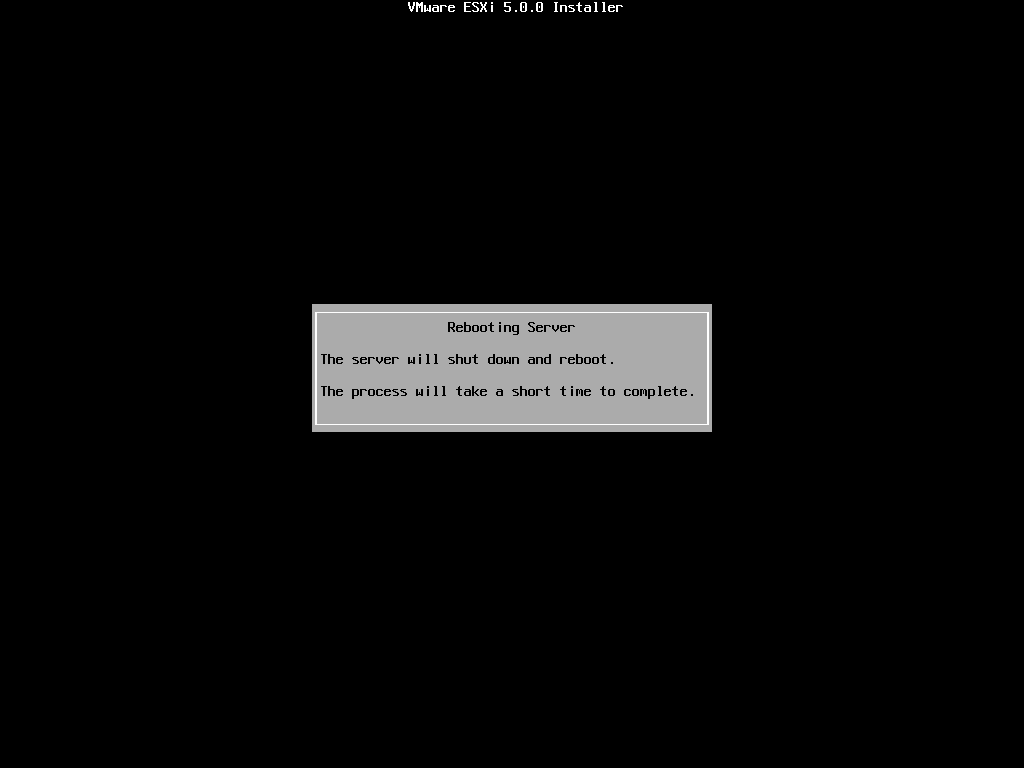
Installer will shutdown all services and reboot the computer after a while.
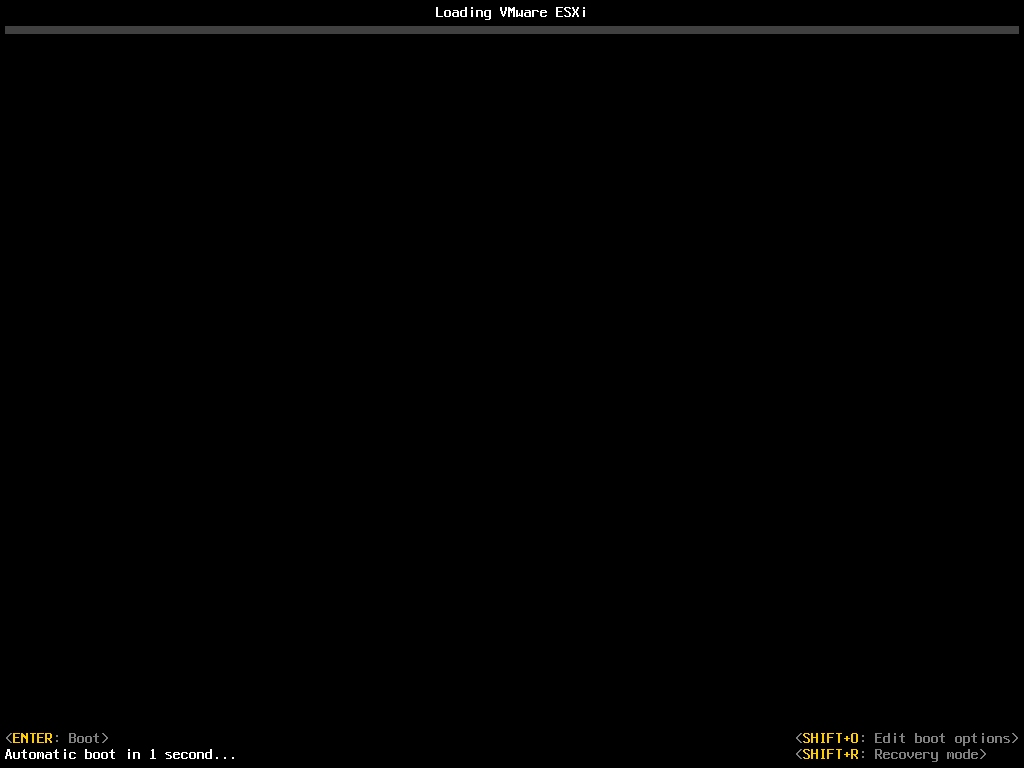
After reboot ESXi will boot on virtual machine.
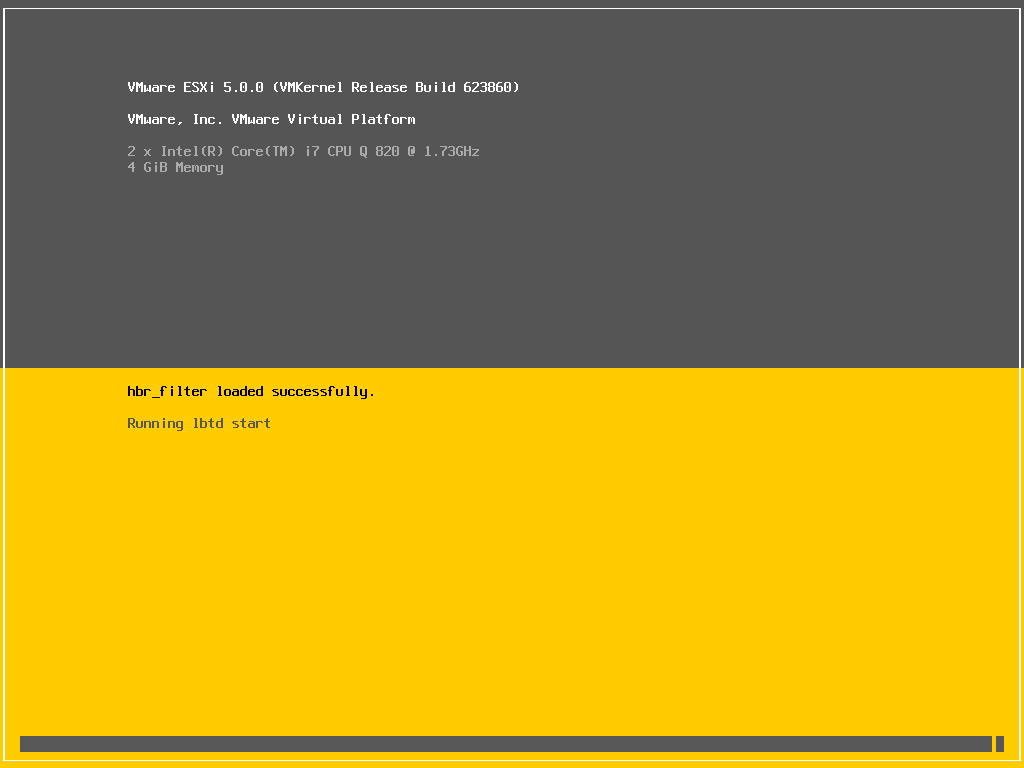
Vmware ESXi 5 is starting up and progress bar indicates how far from fully functional system we are.
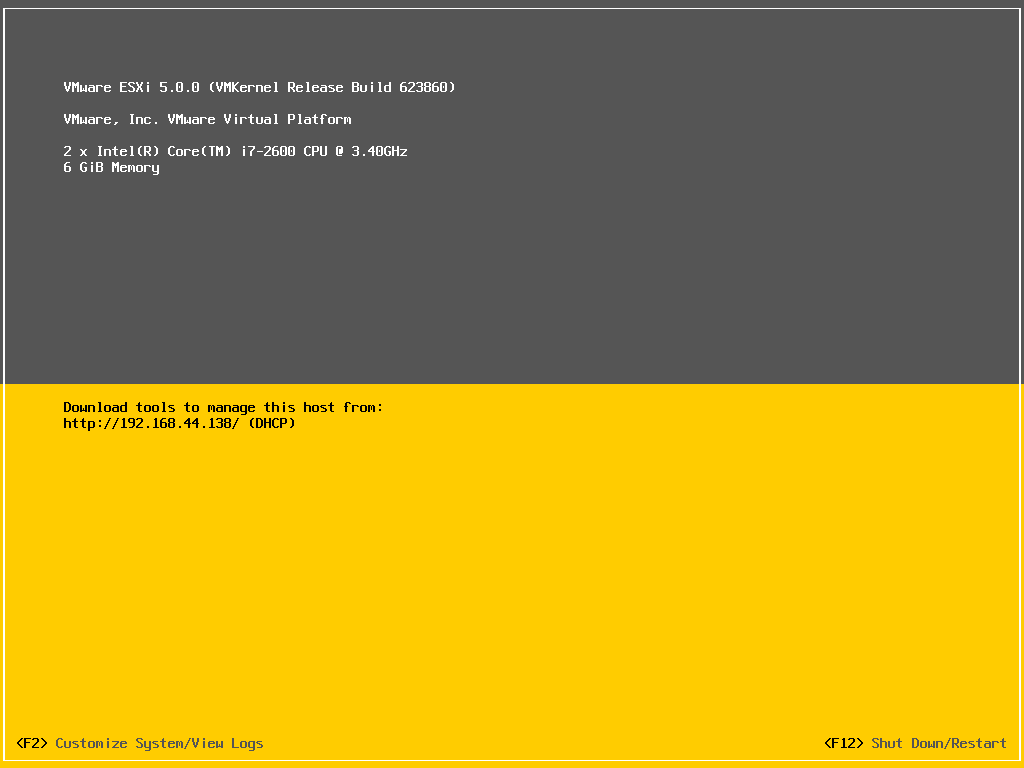
Once system is started in yellow part of the screen URL to the server can be seen. By default ESXi defines IP address for itself as dynamic and we assigned ESXi network interface to NAT interface on VMware Workstation, which by default has DHCP server. We have fully functional VMware ESXi 5.0.0 installed as virtual machine 🙂 It’s time to try how it works.
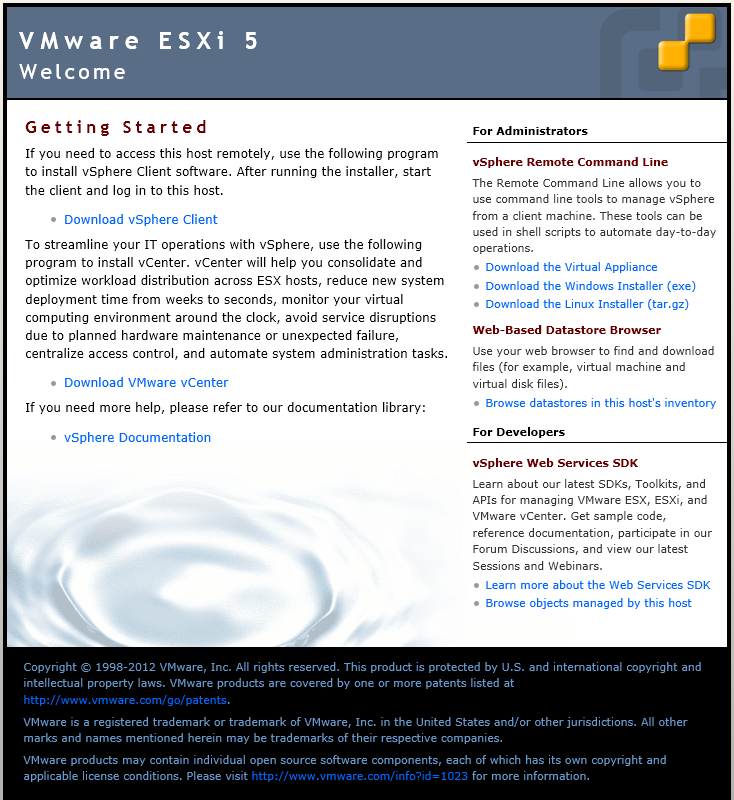
First we need to download and install vSphere client. Simplest way to do that is to use IE on the computer where we have VMware Workstation with ESXi as virtual machine installed. Once ESXi is started it shows URL https://192.168.44.138/. When you go to that URL then web page with link to vSphere Client will show up. Download and install client on your machine.
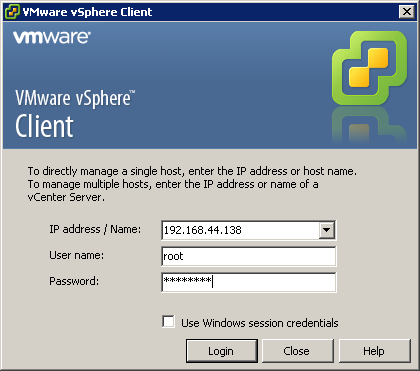
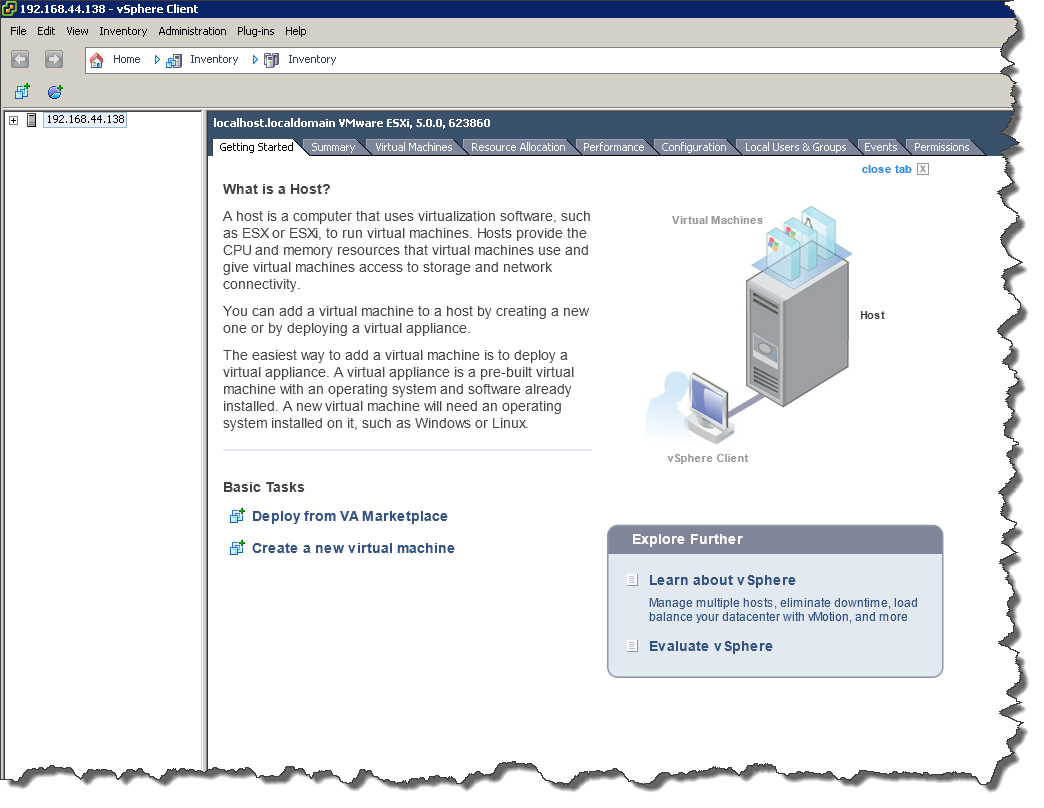
Then start client software. Enter IP address of ESXi host, username (root) and password assigned during installation.
After a while you will see ESXi management console.
Now ESXi 5 is ready to host virtual machines 🙂 We just installed ESXi Hypervisor as virtual machine on VMware Workstation 9.0.

Thanks. Straight to the point!