Recently I went through installation process of Bareos on openSUSE. Bareos seems to be interesting solution for backups in heterogeneous environments.
Ok,let’s start and see how to deploy in 5 steps:
- Step 1: Add repository with Beros and Beros WebUI; Install Beros
- Step 2: Create Bareos database and Tables on MySQL
- Step 3: Configuring Bareos (few config files)
- Step 4: Starting services and accessing WebUI portal
- Step 5: Enable/Autostart Bareos services (optional)
Requirements
In order to have Bareos with WebUI successfully installed following components are required:
- Apache2 Web Server
- MySQL Server Community Edition
Step 1: Add repositories with Bareos and Bareos WebUI; Install Bareos
At the time when this article was written default openSUSE 13.2 repository does contain Bareos and Bareos WebUI.
For that reason firs thing we will do is to add repositories which contains all required components.
So, let’s start YaST Control Center and go to Software section and then to Software Repositories.

On Configured Software Repositories screen click Add in order to define new software repository.

Select repository type. In our case repository is available via URL, so choose Specify URL option and go Next.
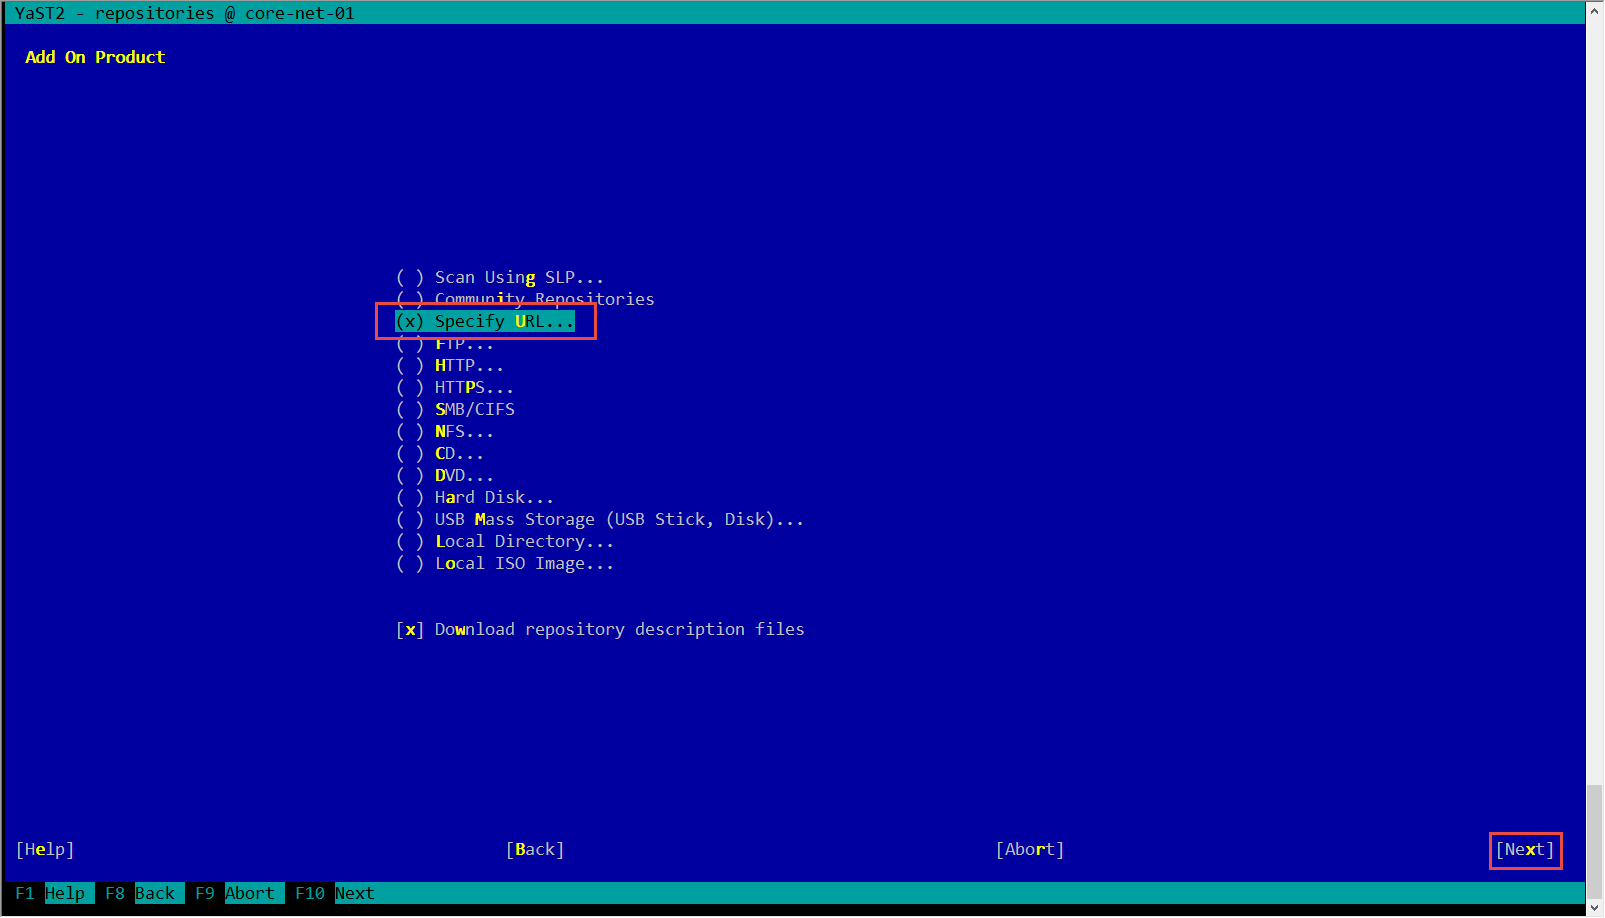
Name your repository (for example Bareos, like on screenshot) and enter URL to repository.
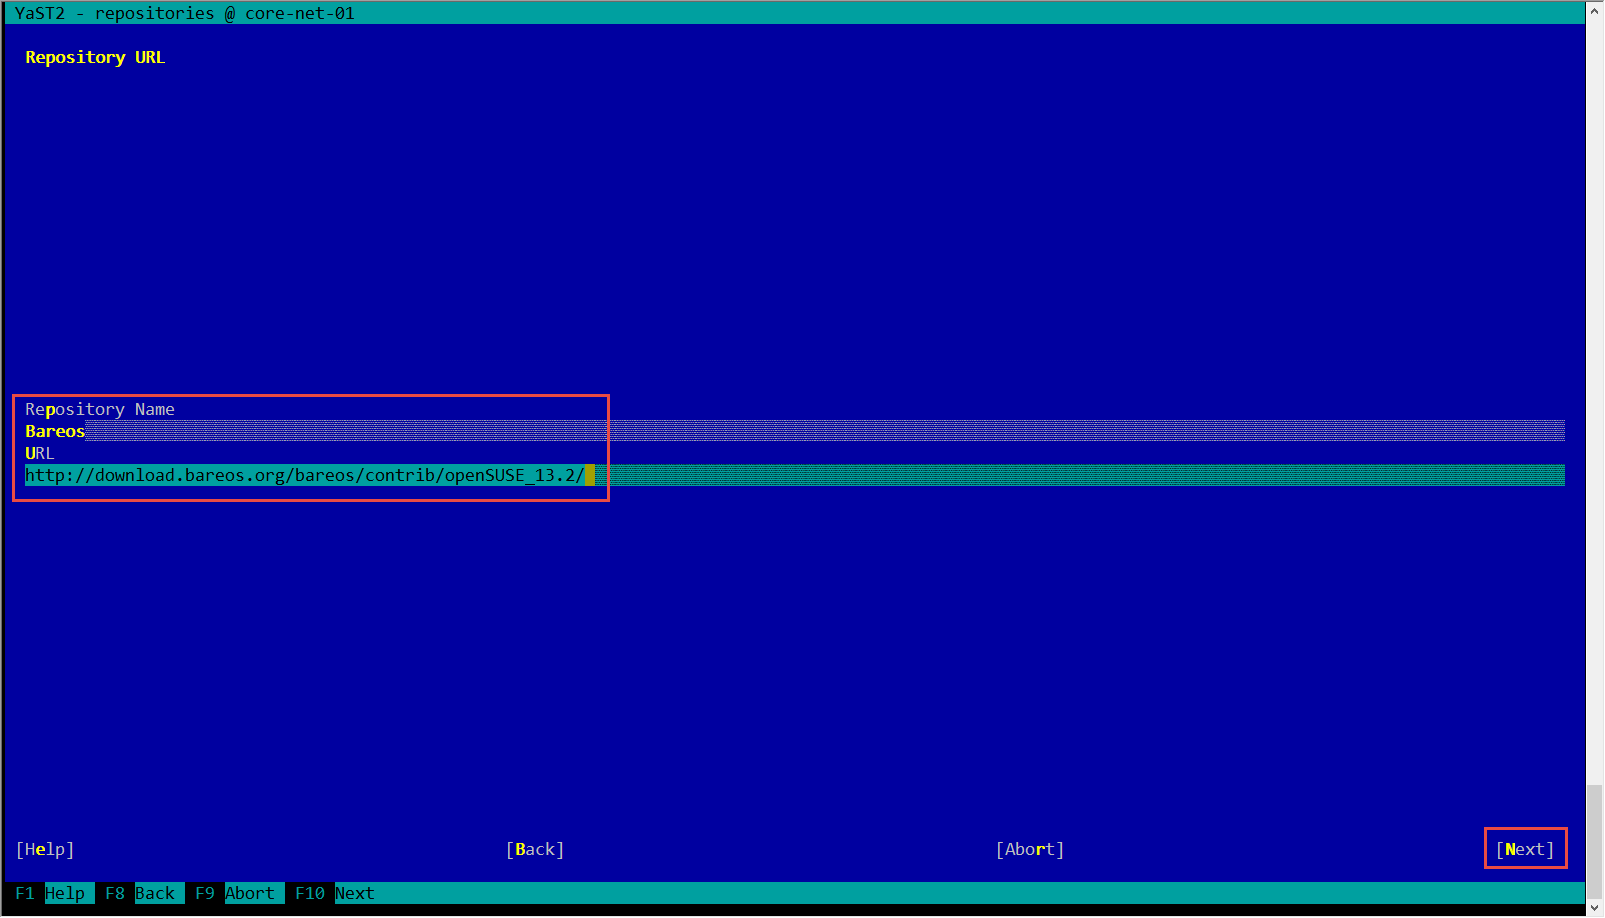
Repository URL:
For bareos-webui package – Bareos : http://download.bareos.org/bareos/contrib/openSUSE_13.2/
For bareos packages – Conecenter : http://download.opensuse.org/repositories/home:/conecenter:/suse_rev4/openSUSE_13.2/
UPDATE
If you want to use release version of Bareos use following repositories during installation:
http://download.bareos.org/bareos/release/latest/openSUSE_13.2/bareos.repo
http://download.bareos.org/bareos/contrib/openSUSE_13.2/bareos:contrib.repo
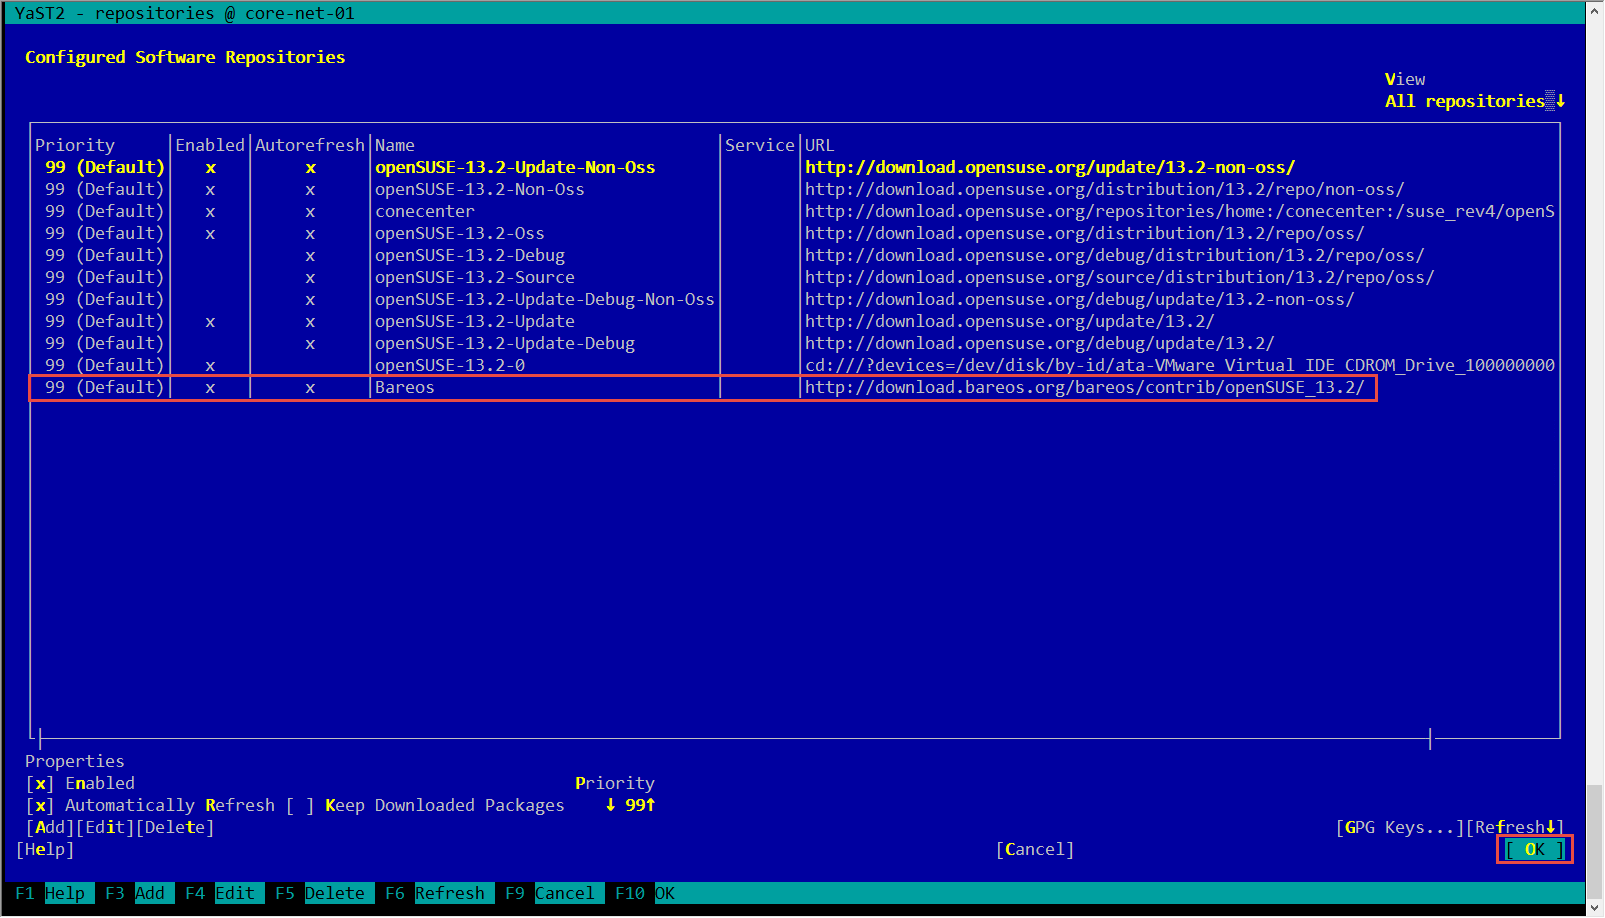
Once done you will see your repository on the list. Click OK in order to proceed with installation.
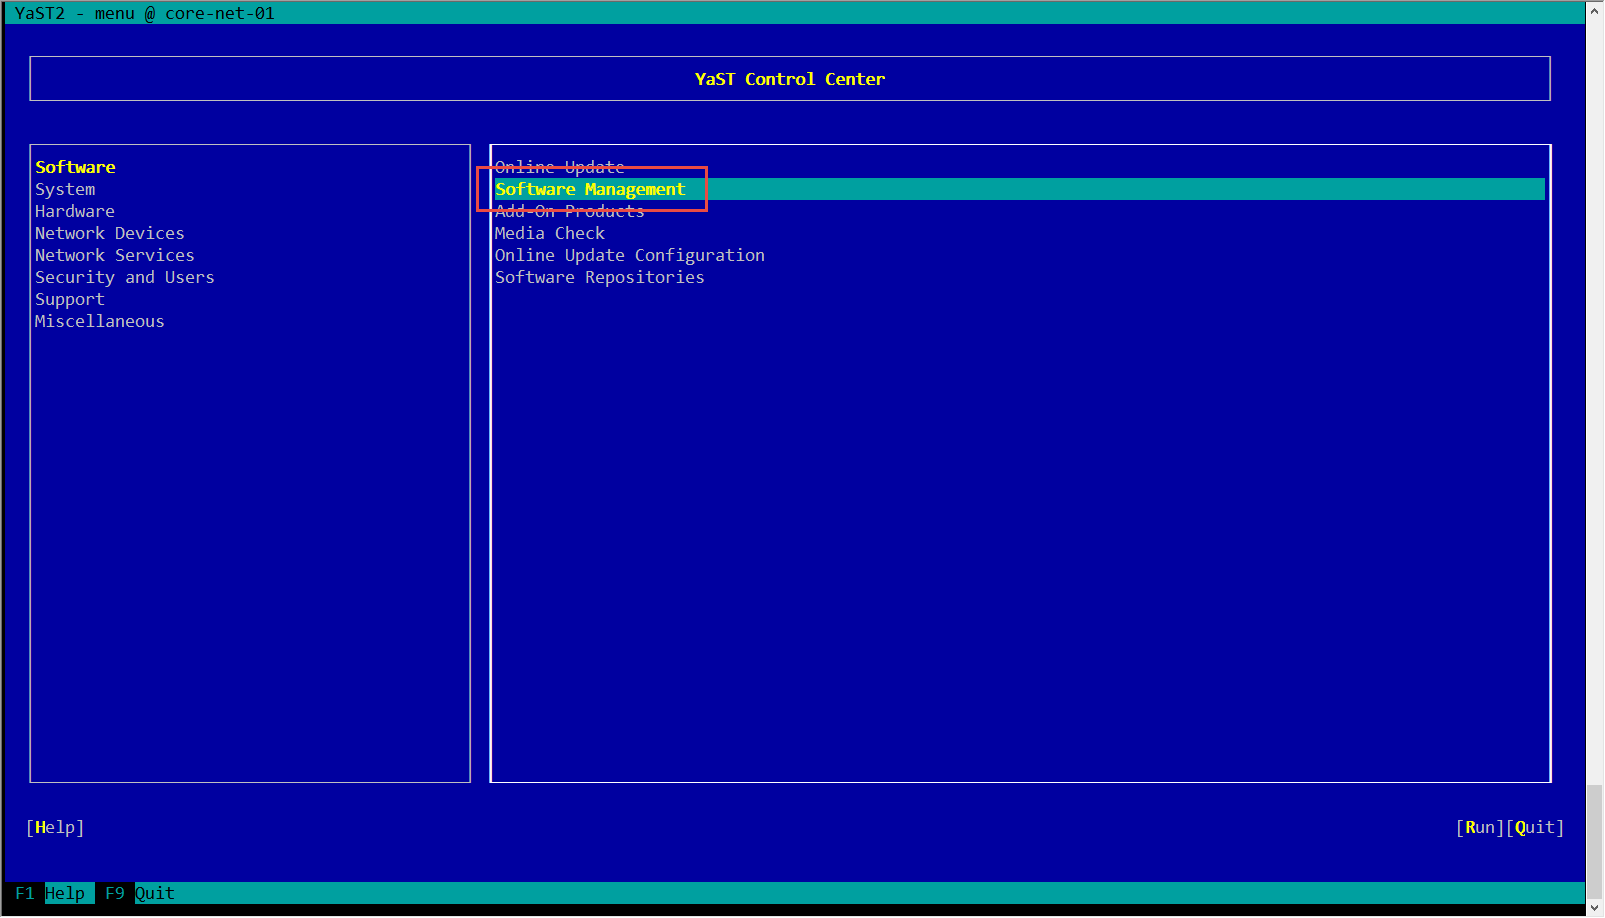
Now it’s time to install Bareos. In order to do that in YaST go to Software and then Software Management.
In Search Phrase field enter bareos and press Enter in order to see list of Bareos related packages.
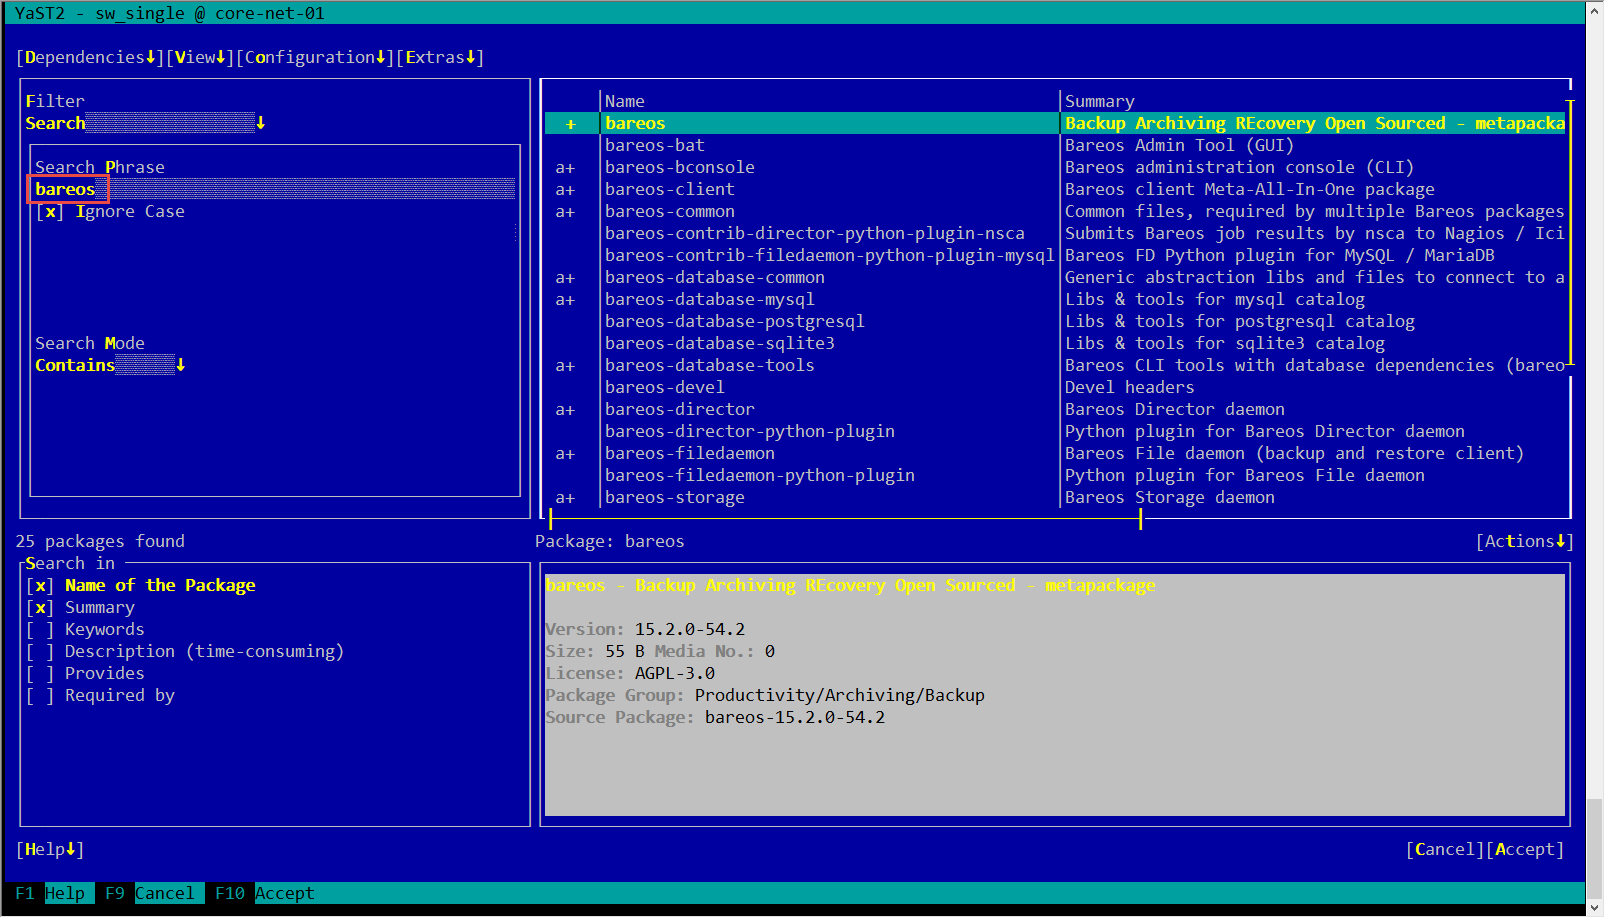
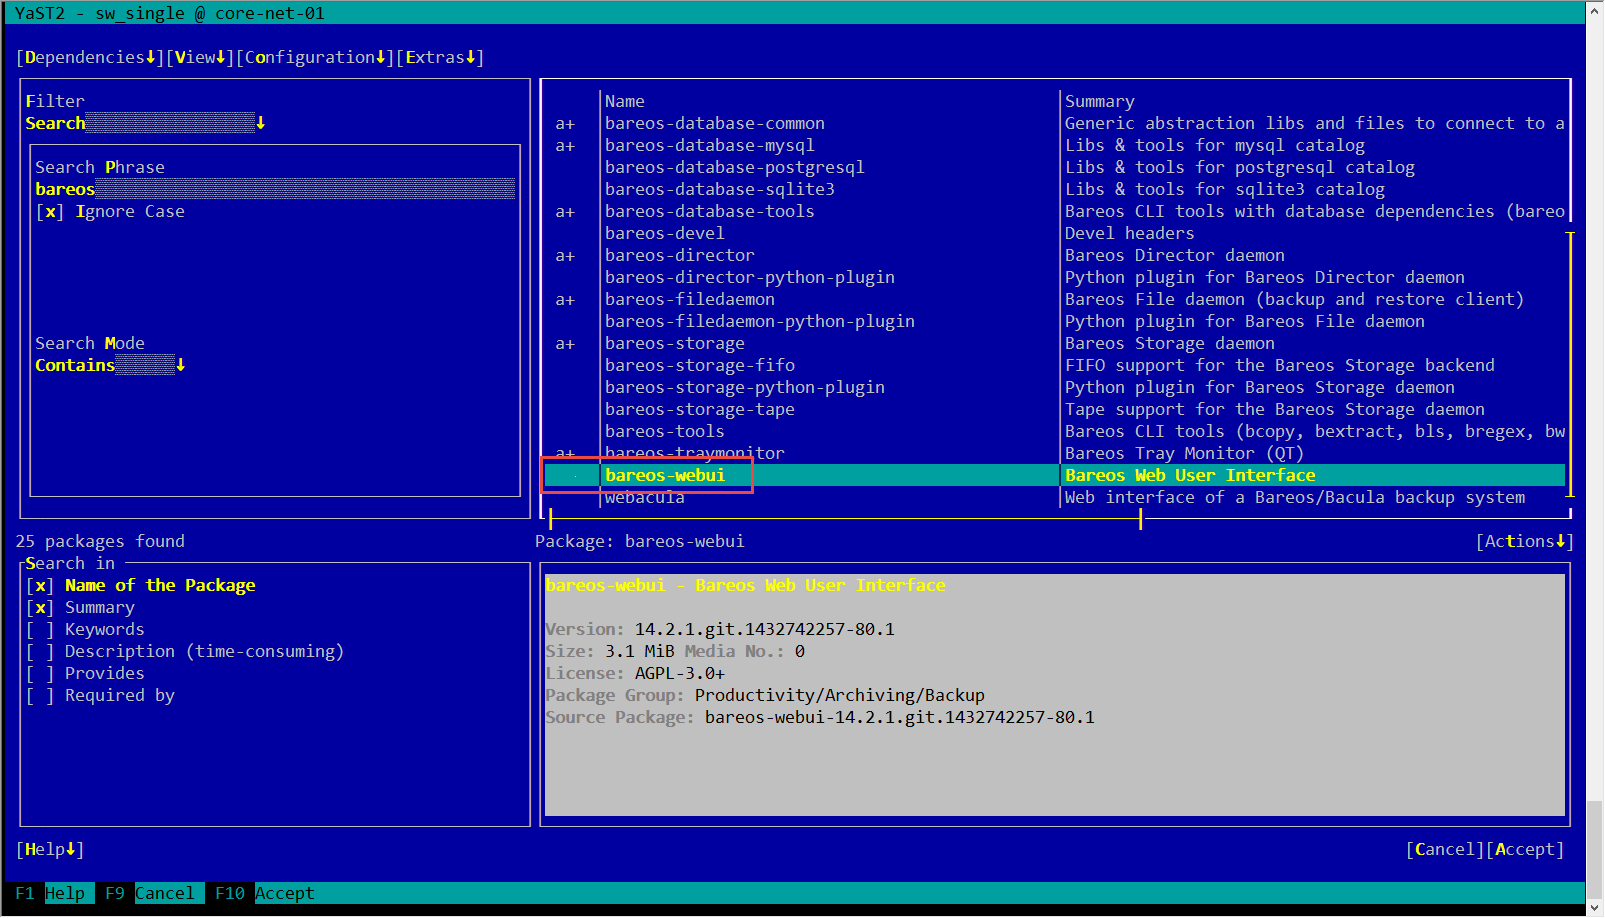
Select bareos package… then scroll down and select bareos-webui package.
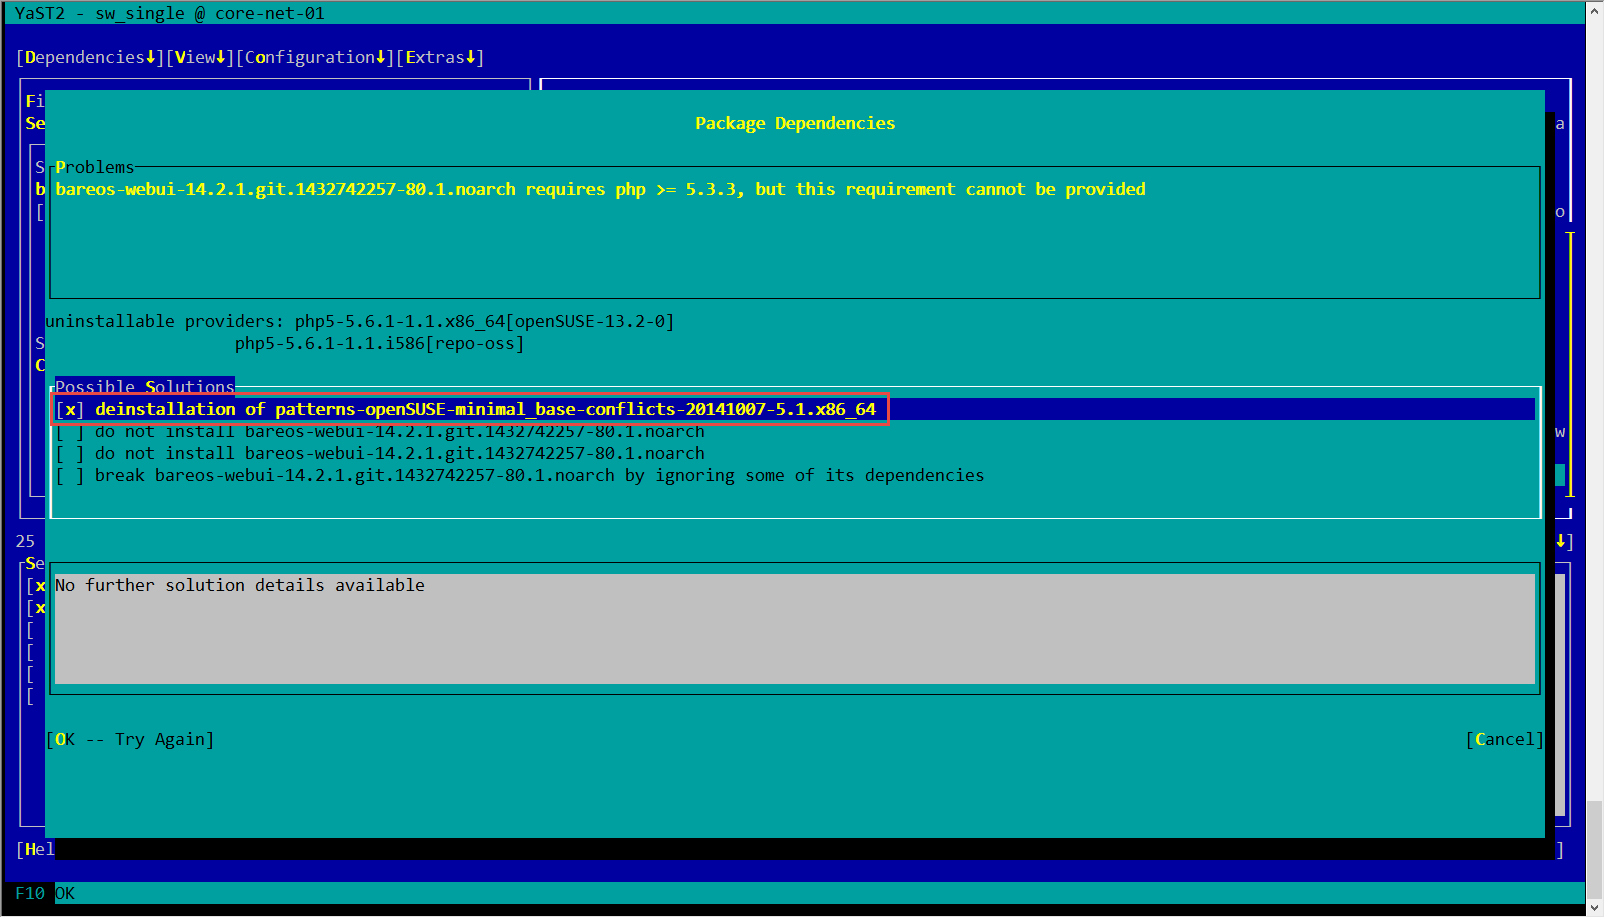
When you select bareos-webui package you might be asked to resolve package conflict. Choose deinstallation of patterns-openSUSE-minimal_base-conflicts20141007-5.1.x86_64 as Possible Solution and then click OK.
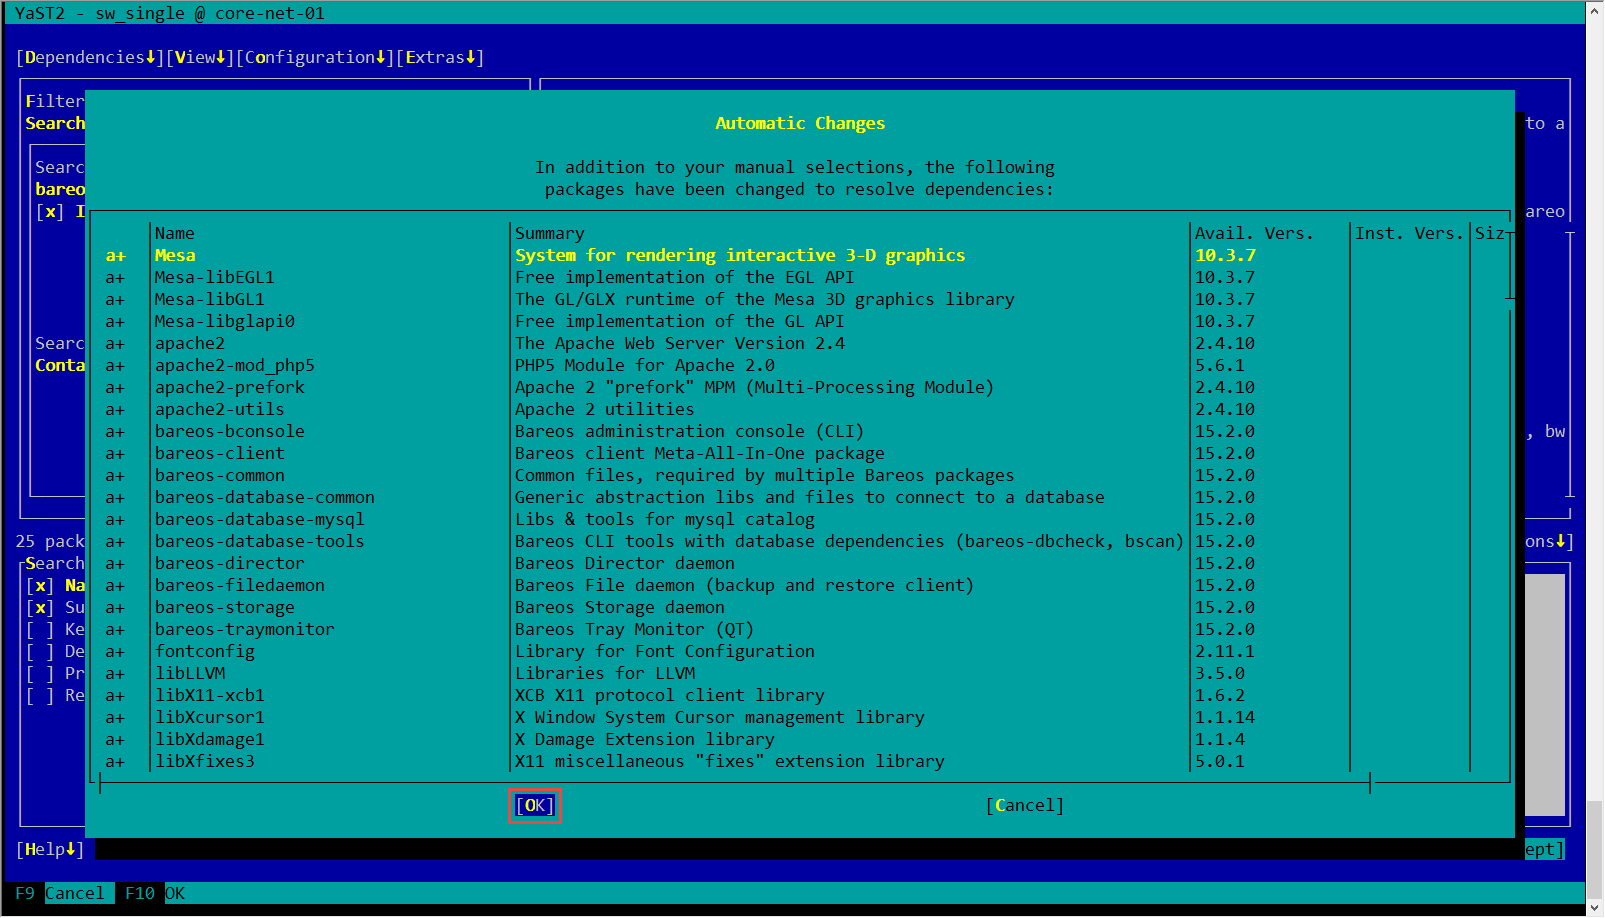
Package will be now added to installation list, so you can click Accept to proceed with installation.

Now you see list of additional packages which have to be installed in order for Bareos to work. Click OK to proceed with installation.
YaST will download and install all packages, which might take a while
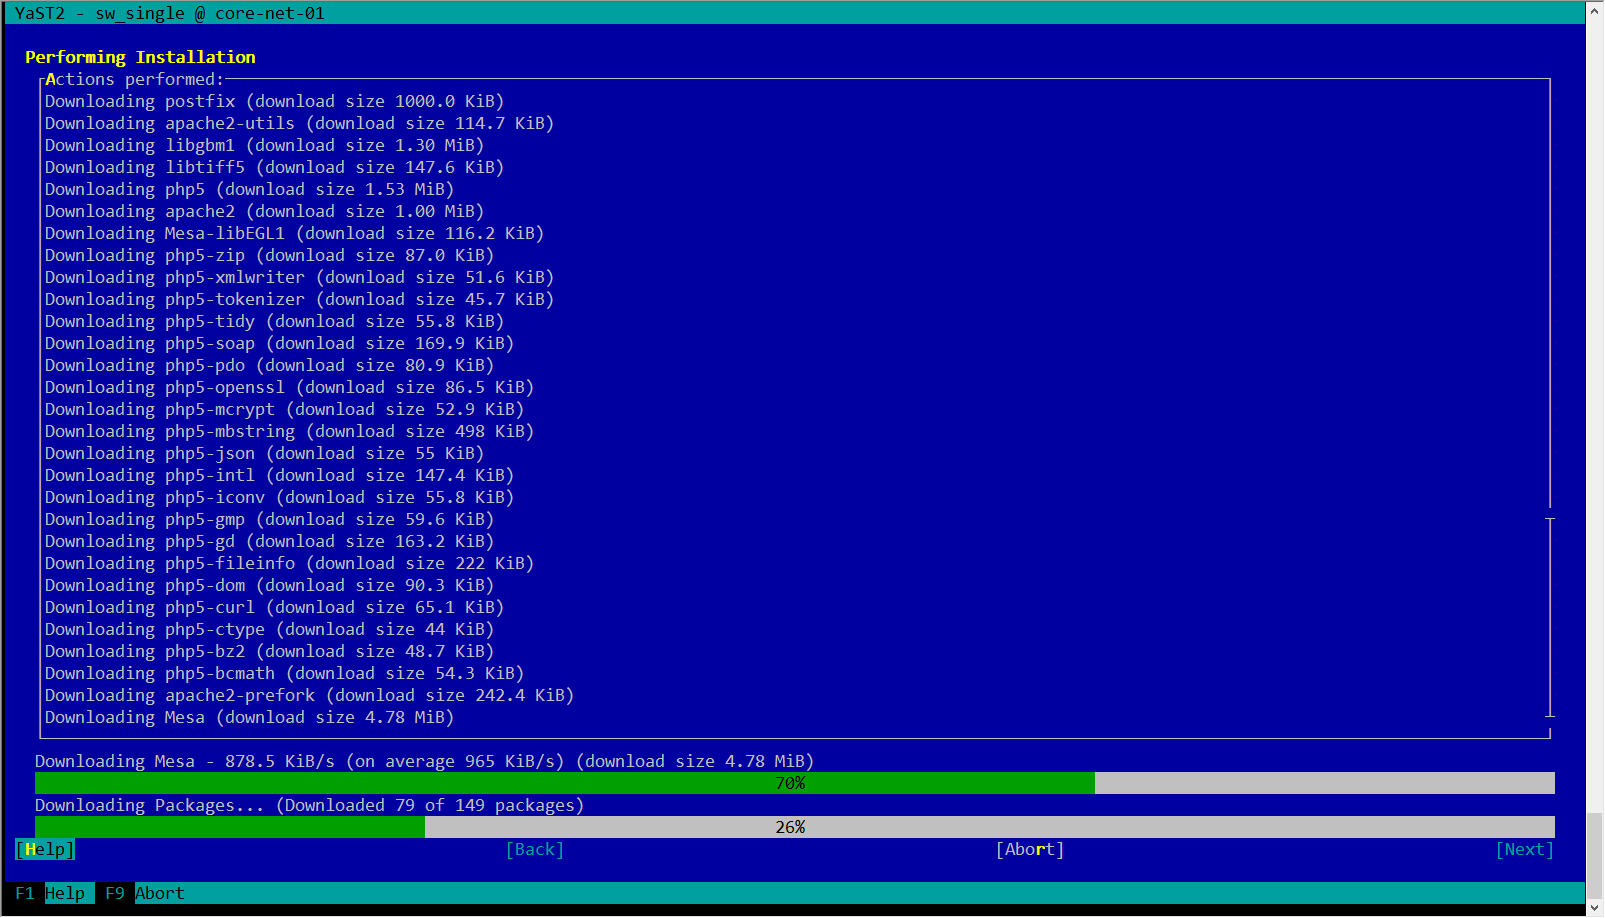
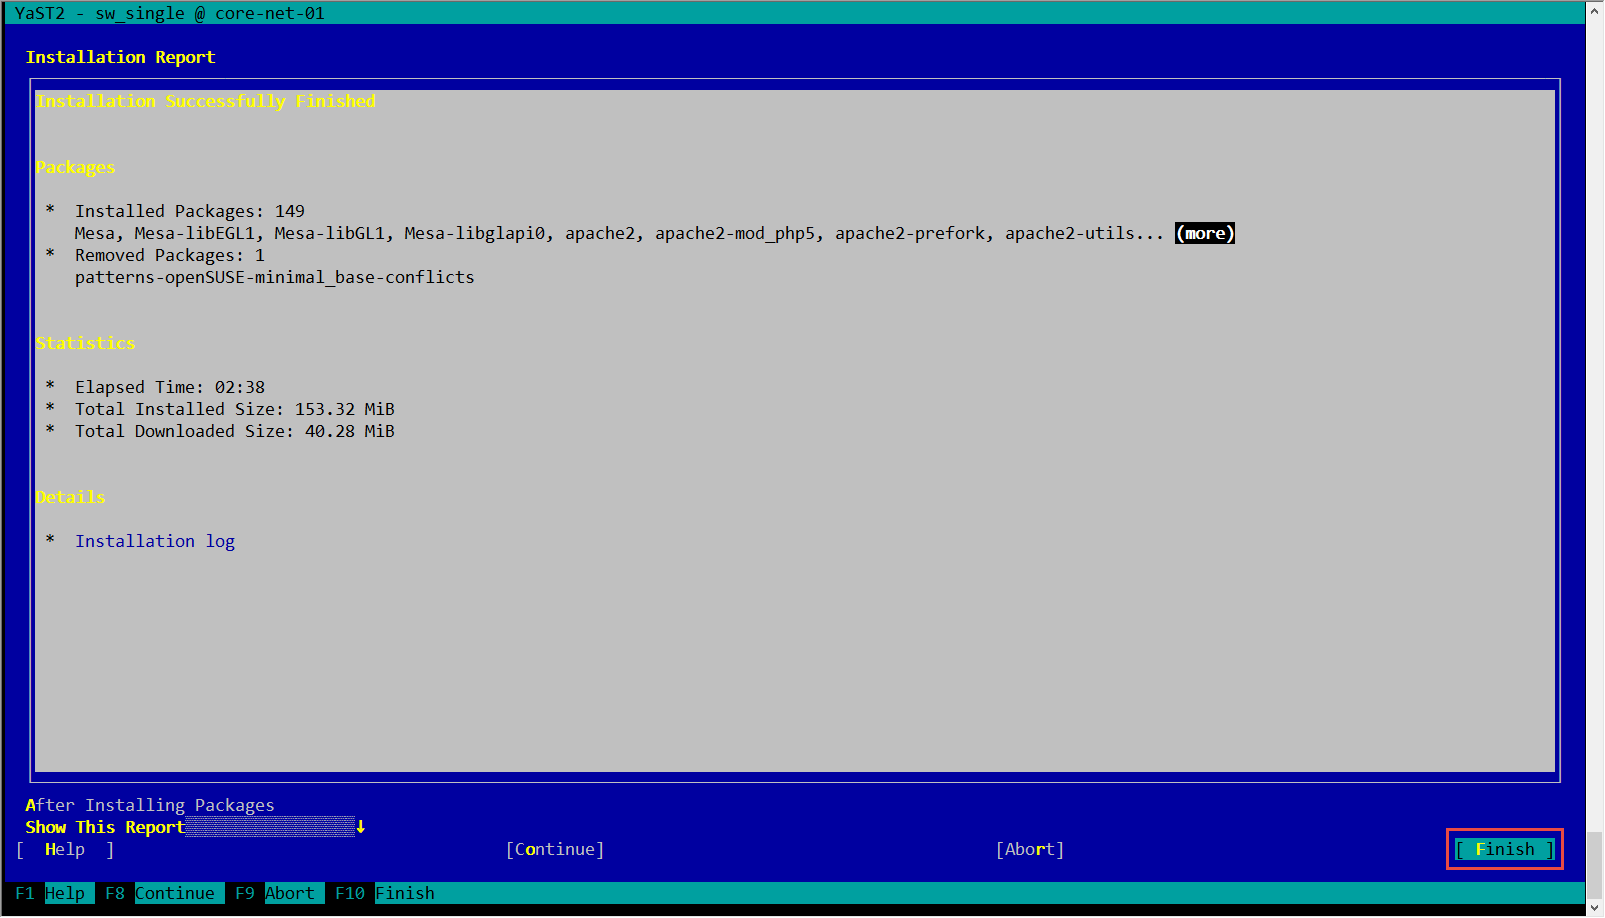
Once all packages will be installed you can finish installation process and proceed to configuration.
Step 2: Create Bareos database and Tables on MySQL
Once Bareos is installed there will be number of configuration scripts which have to be executed in order to created database and tables for Bareos to function properly.
All scripts are located in /usr/lib/bareos/scripts folder.
Bareos database will be created in 3 steps:
- Database creation – script: create_bareos_database
- Tables creation – script: make_bareos_tables
- Privileges assignment – script: grant_bareos_privileges
All 3 scripts will interact with MySQL database.
core-net-01:/usr/lib/bareos/scripts # ./create_bareos_database
Creating mysql database
Creating of bareos database succeeded.
core-net-01:/usr/lib/bareos/scripts # ./make_bareos_tables
Making mysql tables
Creation of Bareos MySQL tables succeeded.
core-net-01:/usr/lib/bareos/scripts # ./grant_bareos_privileges
Granting mysql tables
Privileges for user bareos granted ON database bareos.
core-net-01:/usr/lib/bareos/scripts #
Step 3: Configuring Bareos (few config files)
Before we will be able to access Bareos WebUI we need to do few adjustments to configuration.
Files which have to be modified:
- /etc/bareos-webui/directors.ini
- /etc/bareos/bareos-dir.d/bareos-webui.conf
- /etc/bareos/bareos-dir.conf
Modifications in configuration files will be mainly around database and portal access configuration.
Let’s go with configurations then.
/etc/bareos-webui/directors.ini
Please notice highlighted lines. These have to be adjusted with specific database settings of your installation.
;
; Bareos WebUI Configuration
; File: /etc/bareos-webui/directors.ini
;

;
; Section localhost-dir
;
[localhost-dir]

; Enable or disable section. Possible values are "yes" or "no", the default is "yes".
enabled = "yes"

; Possible values are "postgresql" or "mysql", the default is "postgresql"
dbdriver = "mysql"

; Fill in the IP-Address or FQDN of your catalog DB
dbaddress = "localhost"

; Default values are corresponding to your dbriver, e.g 5432 or 3306
dbport = 3306

; Default is "bareos"
dbuser = "bareos"

; No default value
dbpassword = "P@ssw0rd"

; Default is set to "bareos"
dbname = "bareos"

; Fill in the IP-Address or FQDN of you director.
diraddress = "localhost"

; Default value is 9101
dirport = 9101

; Note: TLS has not been tested and documented, yet.
;tls_verify_peer = false
;server_can_do_tls = false

;server_requires_tls = false
;client_can_do_tls = false
;client_requires_tls = false
;ca_file = ""
;cert_file = ""
;cert_file_passphrase = ""
;allowed_cns = ""

;
; Section another-host-dir
;
[another-host-dir]
enabled = "no"
dbdriver = "mysql"
dbaddress = ""
dbport = 3306
dbuser = "bareos_webui"
dbpassword = ""
dbname = "bareos"
diraddress = ""
dirport = 9101
; Note: TLS has not been tested and documented, yet.
;tls_verify_peer = false
;server_can_do_tls = false
;server_requires_tls = false
;client_can_do_tls = false
;client_requires_tls = false
;ca_file = ""
;cert_file = ""
;cert_file_passphrase = ""
;allowed_cns = ""
/etc/bareos/bareos-dir.d/bareos-webui.conf
In order to allow Bareos WebUI to access Bareos database we need to make few adjustments in portal configuration. Please notice highlighted lines and adjust these accordingly to your configuration.
#
# Preparations:
#
# include this configuration file in bareos-dir.conf by
# @/etc/bareos/bareos-dir.d/bareos-webui.conf
#

#
# Restricted console used by bareos-webui
#
Console {
Name = user1
Password = "P@ssw0rd"
CommandACL = cancel, messages, rerun, restore, run, show, status, version
Job ACL = *all*
Schedule ACL = *all*
Catalog ACL = *all*
Pool ACL = *all*
Storage ACL = *all*
Client ACL = *all*
FileSet ACL = *all*
#Where ACL =
}
/etc/bareos/bareos-dir.conf
...

#   Incremental Backups are done monday to friday at 21:00        (#10)
#   Incremental Backups are written into the "Incremental" Pool   (#11)
#   Incremental Backups are kept for 30 Days                      (#12)
#
#   What you also have to do is to change the default fileset     (#13)
#   to either one of the demo filesets given or create our own fileset.
#
#
#
#  For Bareos release 15.2.0 (25 April 2015) -- suse openSUSE 13.1 (Bottle) (x86_64)
#
#

@/etc/bareos/bareos-dir.d/bareos-webui.conf

Director {                            # define myself

...
Once we done with all configuration files let’s start services and try to access Bareos WebUI portal.
Step 4: Starting services and accessing WebUI portal
First we start all services and restart web server
core-net-01:/etc/bareos # service bareos-sd stop
core-net-01:/etc/bareos # service bareos-fd stop
core-net-01:/etc/bareos # service bareos-dir stop
core-net-01:/etc/bareos # service apache2 restart
Now we can check if all services are started.
core-net-01:~ # ps aux
bareos     6465  0.0  1.3 355816  6532 ?        Ssl  07:51   0:00 /usr/sbin/bareos-dir -c /etc/bareos/bareos-dir.conf
root       6487  0.0  0.6 195144  2968 ?        Ssl  07:51   0:00 /usr/sbin/bareos-fd -c /etc/bareos/bareos-fd.conf
bareos     6507  0.0  0.6 265436  3296 ?        Ssl  07:51   0:00 /usr/sbin/bareos-sd -c /etc/bareos/bareos-sd.conf
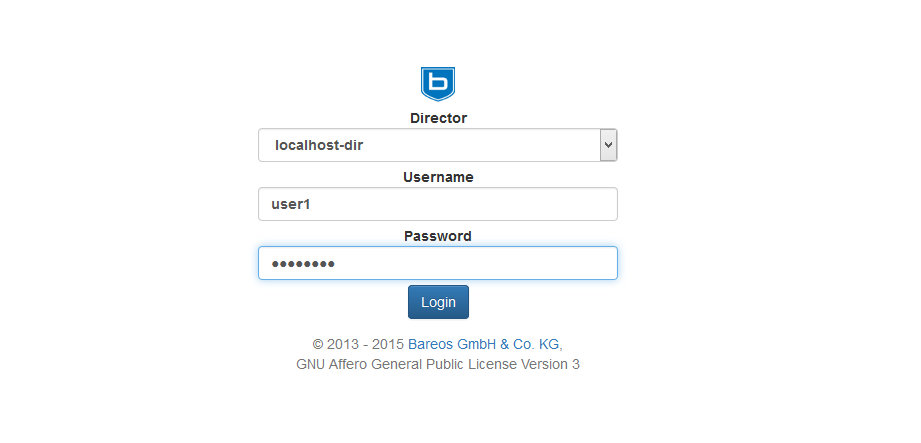
Once we confirm that services are started we can go to Bareos WebUI and use it.
In web browser I go to URL: http://core-net-01/bareos-webui (please not that core-net-01 is a hostname of my demo server).
Once logon page is shown enter details:
- Director: localhost-dir
- Username: user1
- Password: P@ssw0rd
Once you click Login button Bareos WebUI portal will login and will show you status of backup jobs.
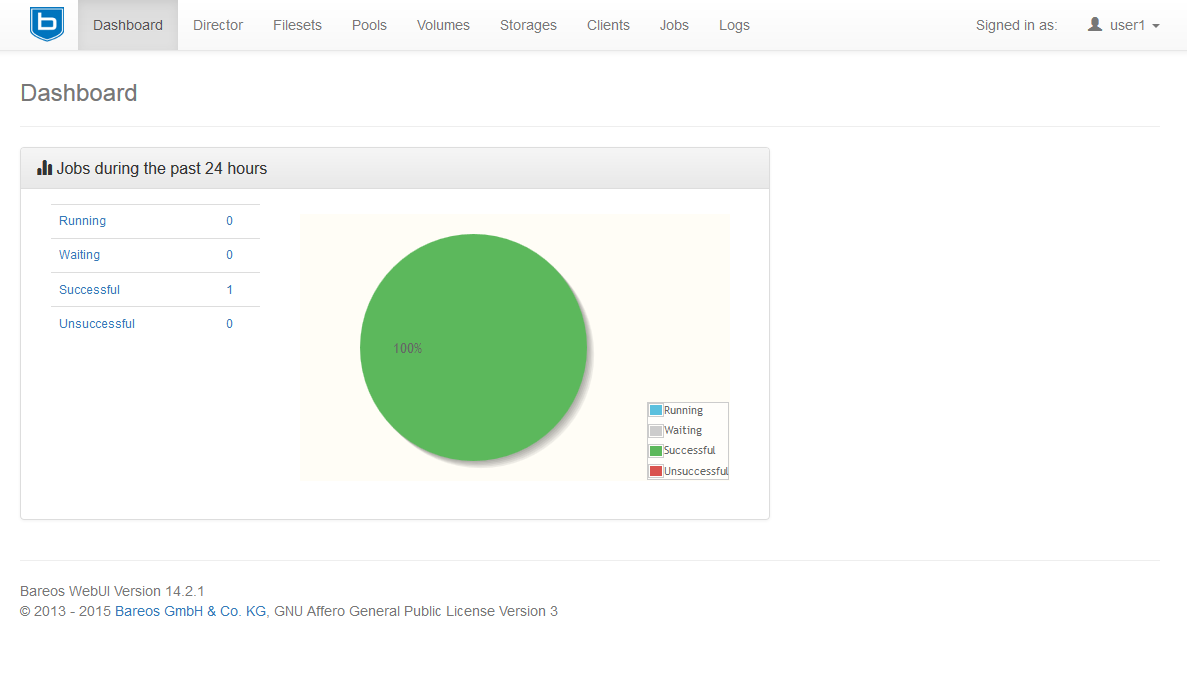
So, looks that Bareos and WebUI works fine now 🙂 You can proceed to configuration of the whole backup system.
Prior to that you might set Bareos services to automatically start during system startup.
Step 5: Enable/Autostart Bareos services (optional)
Start YaST and go to System and Services Manager
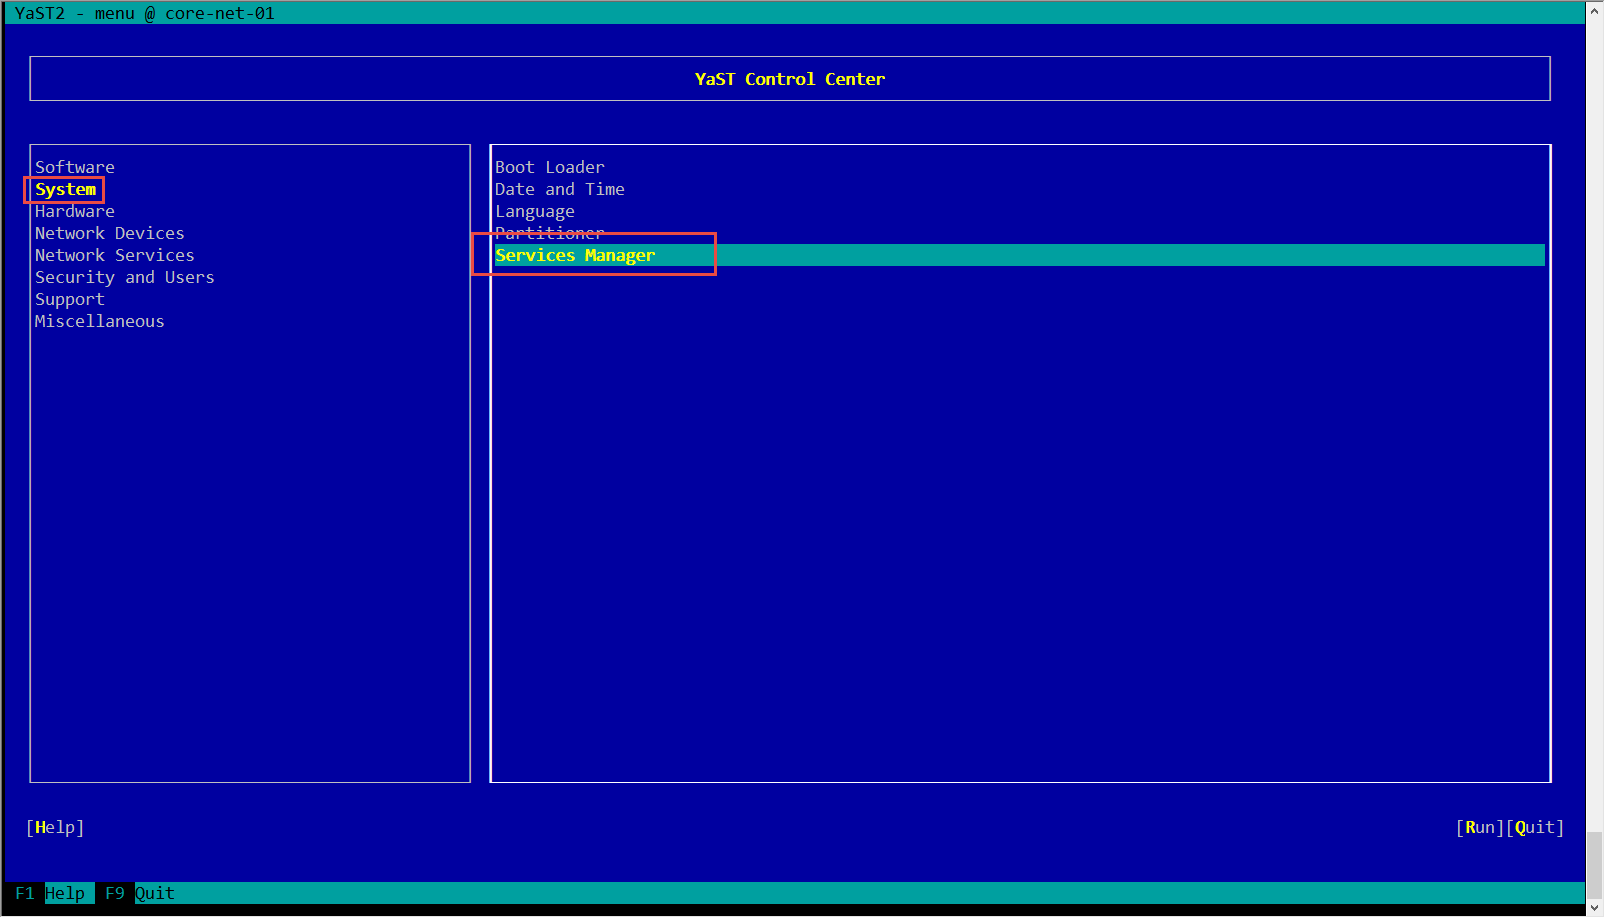
Locate on the list Bareos services:
- bareos-dir
- bareos-fd
- bareos-sd
Change status of these services to Enabled.

Now you can enjoy Bareos as backup system.
Can I set root password to MySQL server after install BareOS?
You can. Bareos is using own credentials to access MySQL, so root password should not affect installation.
BareOS manual:
“Make sure, that root has direct access to the local MySQL server. Check if the command mysql connects to the database without defining the password. This is the default on RedHat and SUSE distributions. On other systems (Debian, Ubuntu), create the file ~/.my.cnf with your authentication informations…”
What’s mean? I can’t create a password for the root MySQL database (for OpenSuSe distro)?
Another think… I can’t use phpMyAdmin without root password.
To enable the option, uncomment or add the following line in config.inc.php:
$cfg[‘Servers’][$i][‘AllowNoPassword’] = TRUE;
You Just need run:
mysql_secure_installation
Default access to mysql is with root without password (blank)