ADAM (Active Directory Application Mode) was predeccesor of ADLDS and Microsoft distributed it as additional download. Now in Windows Server 2008 R2 ADLDS (Active Directory Lightweight Directory Services) are built0in server role. ADLDS offers LDAP-based directory service which can be utilized by application LDAP-enabled. In addition to that ADLDS works as Windows-service and is non-operating-system service which allows multiple instances of ADLDS on same machine.
Installing Active Directory Lightweight Directory Services Role from GUI
1. Start Server Manager. This can be done from Task Bar or from Start / Administrative Tools menu.

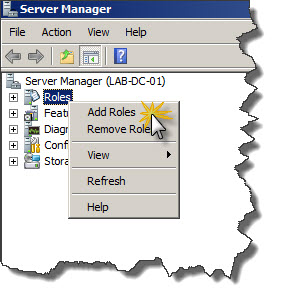
2. Once Server Manager is started locate Roles, right-click on it and then click Add Roles in context menu. That will start Add Roles Wizard.
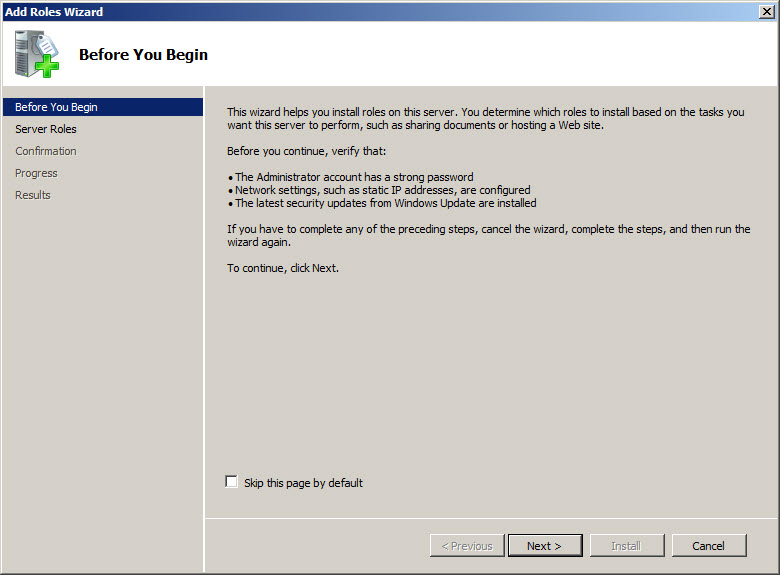
3. First you see Add Roles Wizard welcome screen (Before You Begin). Just click Next to move on with installation of ADLDS Role.
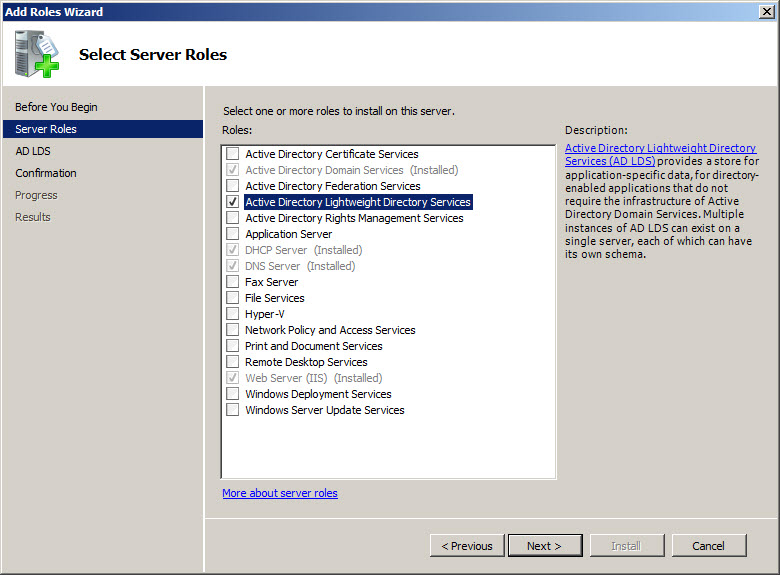
4. Following screen shows list of all roles available as part of Windows Server 2008 R2. Some of the roles might be greyed-out, have ticked check-box next to them and status (Installed), other roles might not be greyed-out and check-box next to them is clean. That indicates which roles are already installed and which roles are available for installation.
Locate Active Directory Lightweight Directory Services on the list of Roles and tick check-box on the left side of the role name. Once it’s done click Next to proceed with installation.
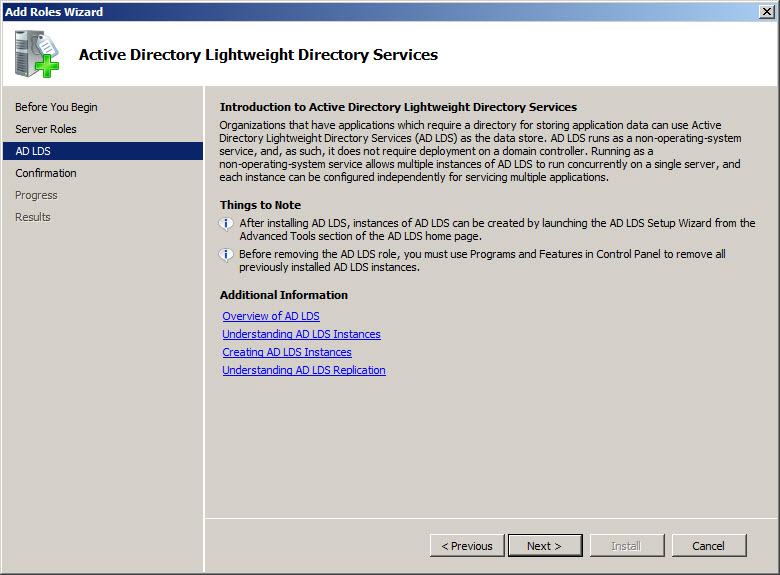
5. Now you will see short description of ADLDS with links pointing to additional information about that service. Click Next on that screen in order to proceed to next step of ADLDS Role installation.
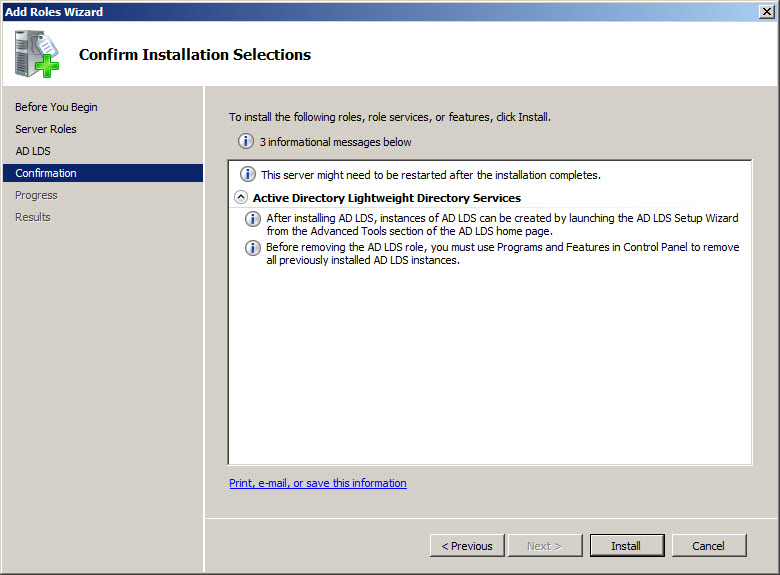
6. Last screen, with title Confirm Installation Selections, shows what has been selected (in our case ADLDS) before changes will be applied to the system. Once you verify that everything is fine click Install to proceed with installation.
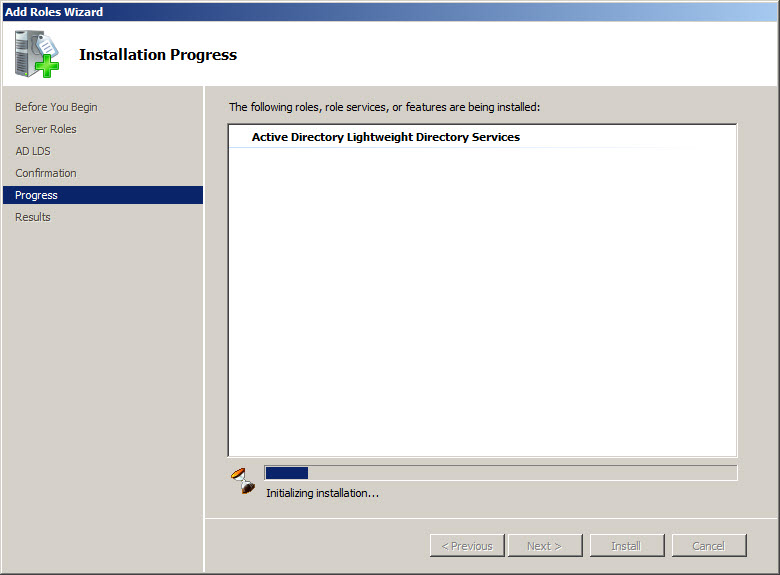
7. Next screen shows Installation Progress. After a while Active Directory Lightweight Services will be installed. Whole process should take only a moment.
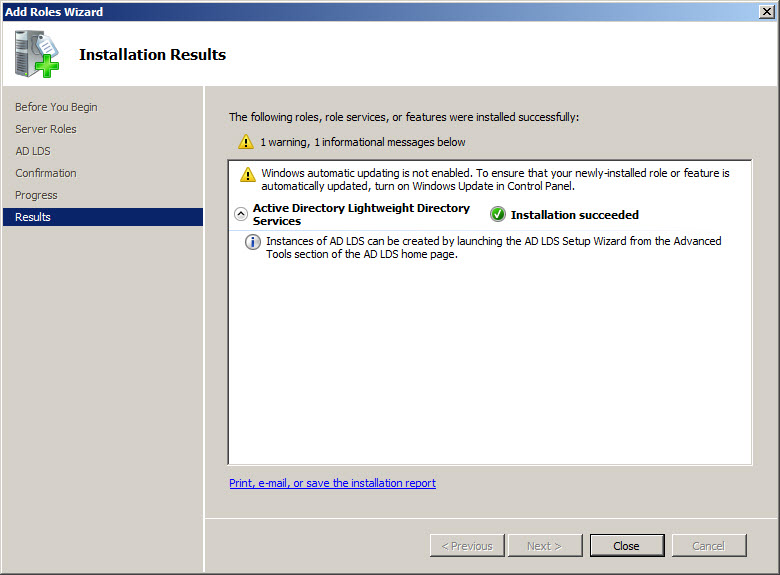
8. Once installation is finished Installation Results screen shows summary and status of installation. You might also see additional recommendations/warnings, like in our case indication that Windows automatic updating is not enabled. If Active Directory Lightweight Directory Services Role was installed correctly you should see Installation succeeded information with green check mark. At that stage you can click Close in order to finish with Add Role Wizard.
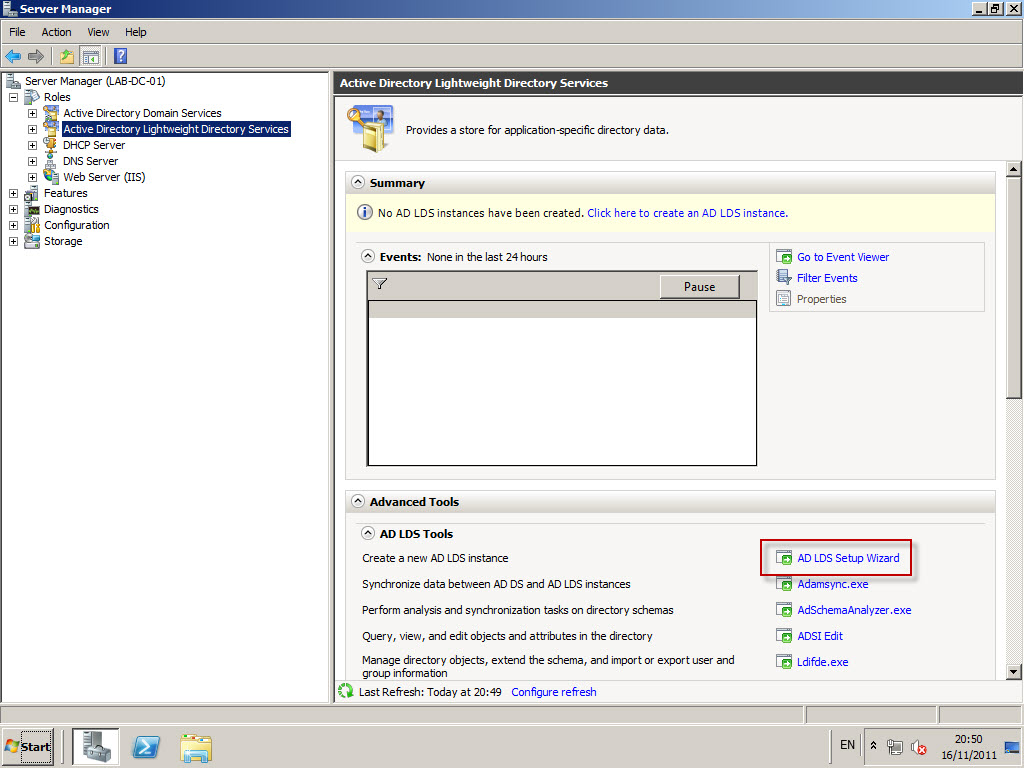
NOTE: After installation Active Directory Lightweight Directory Services role is just added to the system. Before you will be able to use it and build LDAP directory based on that service ADLDS has to be configured and prepared.
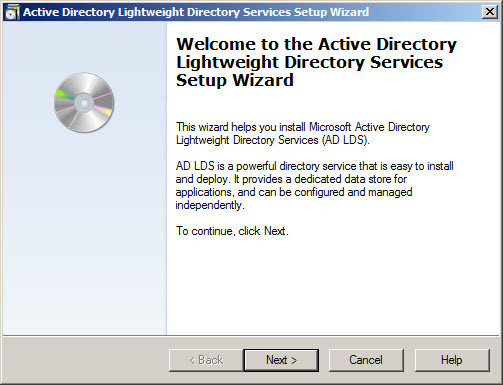
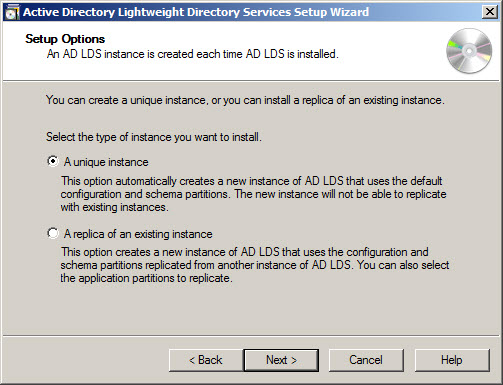
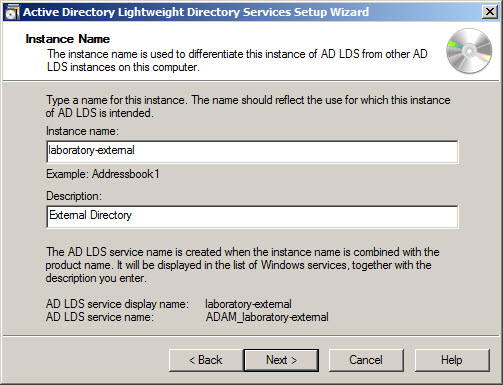
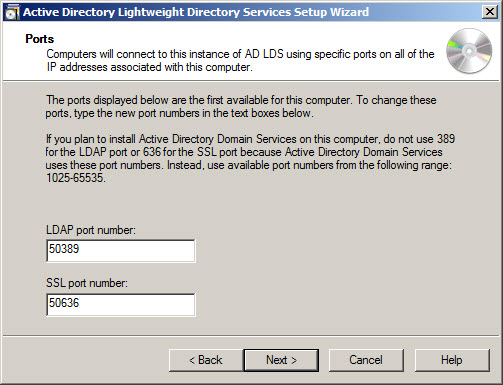
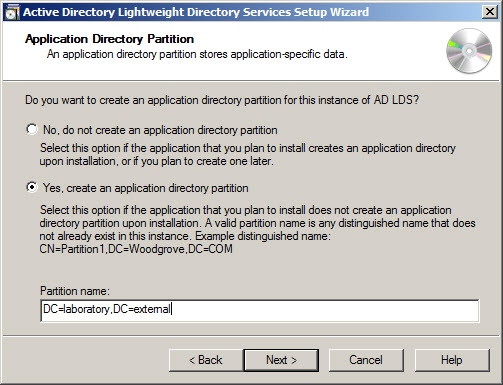
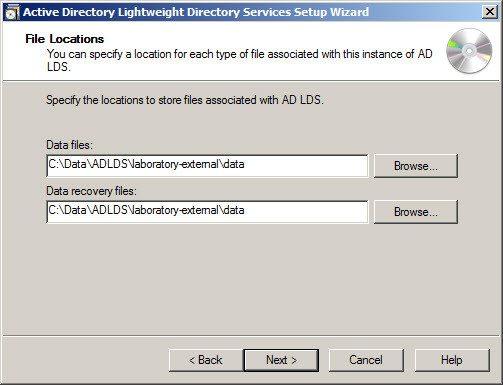
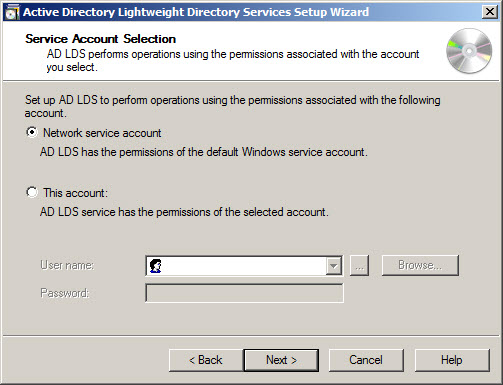
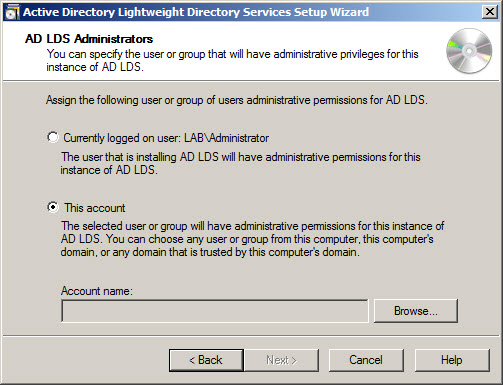
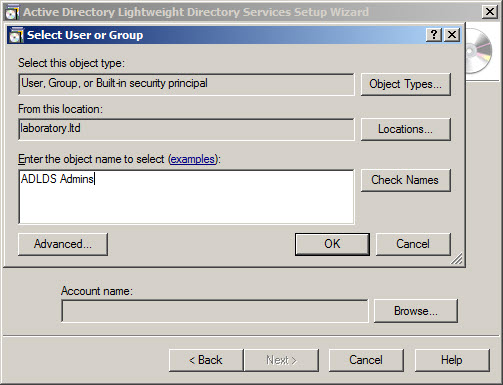
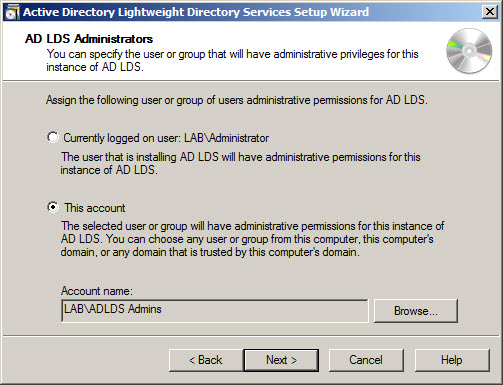
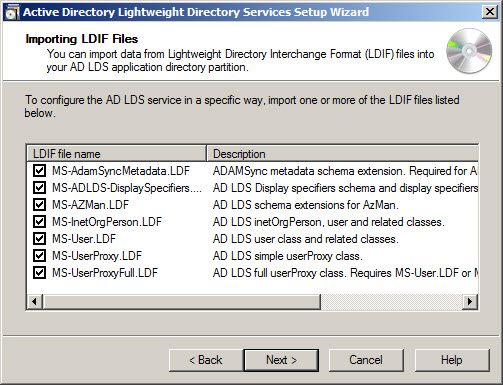
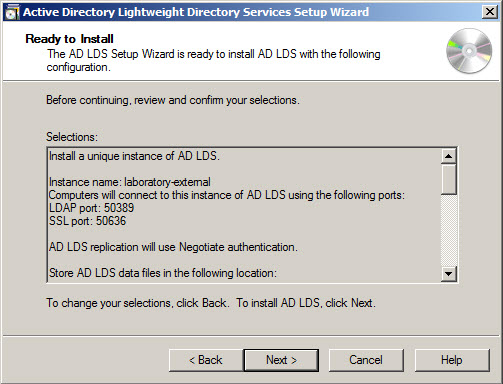
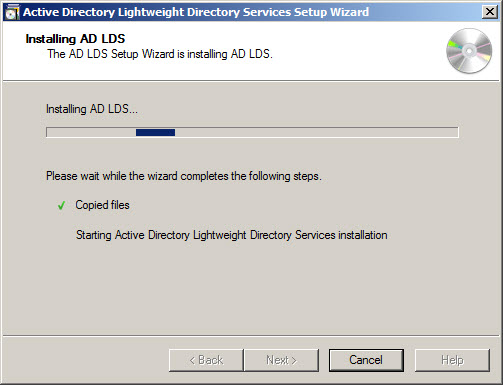
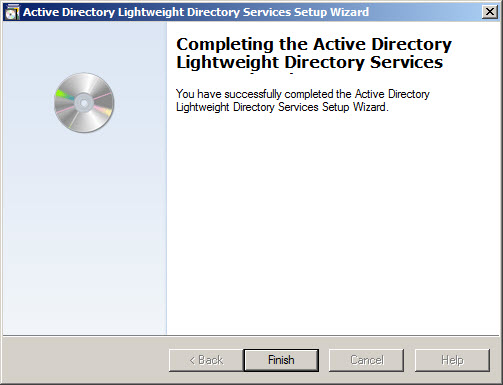
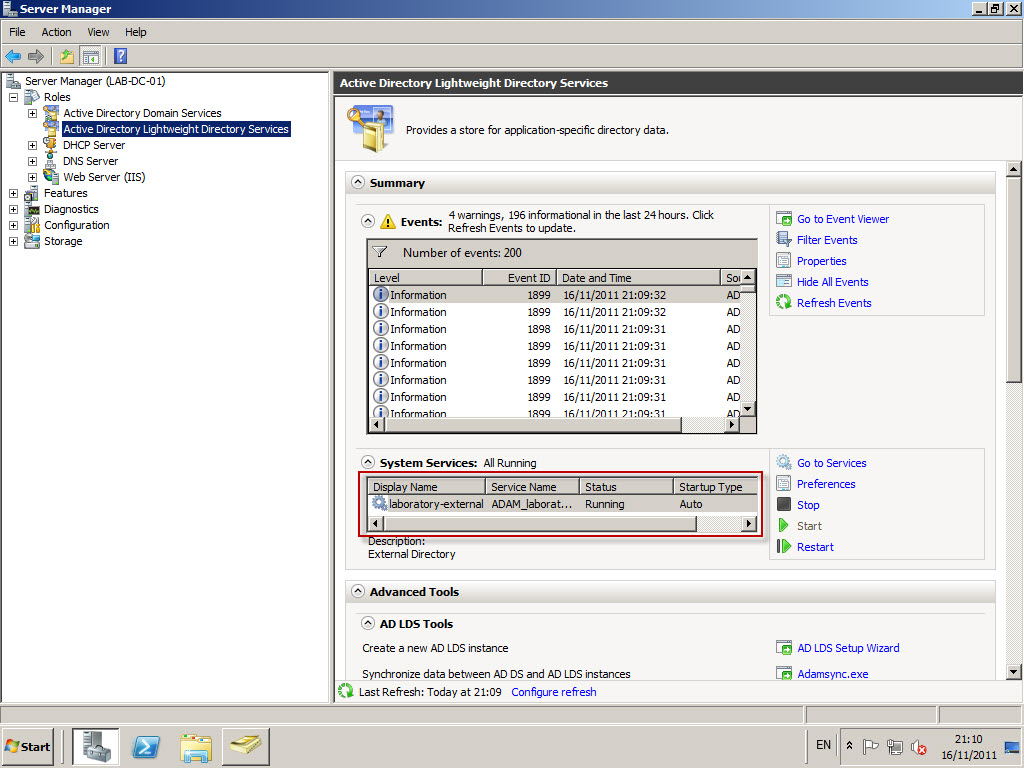
Configuring ADLDS instance

First of all I would like to say fantastic blog!
I had a quick question in which I’d like to ask if you do not mind. I was interested to know how you center yourself and clear your mind before writing. I have had a difficult time clearing my thoughts in getting my thoughts out there. I truly do take pleasure in writing but it just seems like the first 10 to 15 minutes tend to be wasted just trying to figure out how to begin. Any ideas or tips? Thank you!
Hi dear
when i install AD LDAP services when give the partition name not create please help me??
Thanks for the Help