In this article will go through configuration of Cisco Easy VPN along with Microsoft NPS RADIUS on Windows Server 2008 R2.
Article covers:
- Basic information about Cisco Easy VPN
- Cisco IOS router configuration for Easy VPN
- Windows Server 2008 R2 NPS and RADIUS configuration
Let’s go…
First some information about Cisco Easy VPN (source Cisco web site):
-
Cisco Easy VPN is an IP Security (IPsec) virtual private network (VPN) solution supported by Cisco routers and security appliances. It greatly simplifies VPN deployment for remote offices and mobile workers. Cisco Easy VPN is based on the Cisco Unity® Client Framework, which centralizes VPN management across all Cisco VPN devices, thus reducing the management complexity of VPN deployments. There are three components of the Cisco Easy VPN solution: Easy VPN Client, Easy VPN Remote, and Easy VPN Server.
-
Cisco Easy VPN Client enables mobile workers to create a remote-access VPN connection to a Cisco Easy VPN Server. Cisco Easy VPN Client refers to the Cisco VPN Client, which is also commonly referred to as the Cisco Software VPN Client. For more information, please visit Cisco website – Easy VPN Client
-
Cisco Easy VPN Remote enables Cisco routers and security appliances to establish a site-to-site VPN connection to a Cisco Easy VPN Server without complex remote-side configuration. Cisco Easy VPN Remote is also commonly referred to as a hardware client. For more information, please visit Cisco website – Easy VPN Remote.
-
Cisco Easy VPN Server accepts connections from Cisco Easy VPN Client and Remote, ensures that those connections have up-to-date policies in place before the connections are established. All Cisco Easy VPN Servers are interoperable with all Cisco Easy VPN Client and Remote. For more information, please visit: Cisco website – Easy VPN Server
Cisco IOS router configuration
Here is some config
version 12.2
no service pad
service timestamps debug uptime
service timestamps log uptime
no service password-encryption
service internal
!
hostname Cisco1751
!
aaa new-model
!
!
aaa authorization network hw-client-groupname local
aaa session-id common
enable password cisco
!
memory-size iomem 15
clock timezone - 0 6
ip subnet-zero
no ip source-route
!
!
ip domain-name cisco.com
!
ip audit notify log
ip audit po max-events 100
!
crypto isakmp policy 1
encr 3des
authentication pre-share
group 2
crypto isakmp client configuration address-pool local dynpool
!
crypto isakmp client configuration group hw-client-groupname
key hw-client-password
dns 30.30.30.10 30.30.30.11
wins 30.30.30.12 30.30.30.13
domain cisco.com
pool dynpool
!
!
crypto ipsec transform-set transform-1 esp-3des esp-sha-hmac
!
crypto dynamic-map dynmap 1
set transform-set transform-1
reverse-route
!
!
crypto map dynmap isakmp authorization list hw-client-groupname
crypto map dynmap client configuration address respond
crypto map dynmap 1 ipsec-isakmp dynamic dynmap
!
!
interface Ethernet0/0
description connected to INTERNET
ip address 20.20.20.2 255.255.255.0
half-duplex
no cdp enable
crypto map dynmap
!
interface FastEthernet0/0
description connected to HQ LAN
ip address 30.30.30.1 255.255.255.0
speed auto
no cdp enable
!
ip local pool dynpool 30.30.30.20 30.30.30.30
ip classless
ip route 0.0.0.0 0.0.0.0 Ethernet0/0
no ip http server
ip pim bidir-enable
!
!
no cdp run
!
line con 0
line aux 0
line vty 0 4
password cisco
!
end
Register NPS in Active Directory
First we have to register Network Policy Server in Active Directory to allow authentication based on user accounts we created in domain.
To authorize NPS in AD:
- Logon to server with NPS using account with domain admin credentials.
- Go to Start / Administrative Tools and then click Network Policy Server.
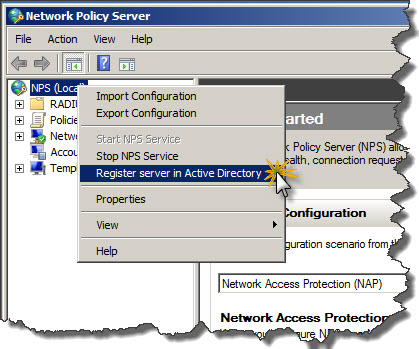
- Right-click on NPS (Local) and from context menu click Register server in Active Directory.
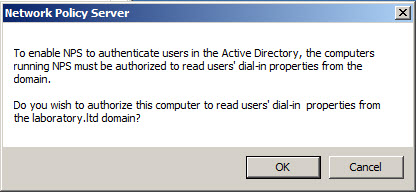
- Confirm that you want to authorize this computer (server with NPS) to access users’ dial-in properties by clicking OK in Network Policy Server dialog window. Make sure that authorization will happen in correct domain as per indication in message from system.
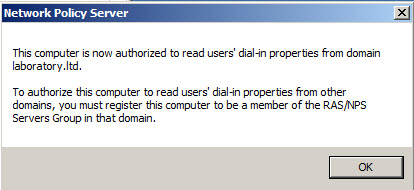
- When operation will be completed with success notification confirmation iwll show on the screen that this computer is now authorized to read users’ dial-in properties from domain.
For everyone who likes to reconfigure servers from Command Prompt here is how to add NPS to default AD domain:
- Log on to the NPS server using account with domain admin credentials.
- Open Command Prompt.
- In CMD window type: netsh ras add registeredserver
- Then press ENTER.
Add router with Easy VPN as RADIUS client
Now it’s time to inform NPS/RADIUS about our router and establish shared secred as form of identification when router will be requesting authentication and authorization from RADIUS and Active Directory.
To add router with easy VPN configured as RADIUS client:
- Logon to server with NPS using account with admin credentials.
- Go to Start / Administrative Tools and then click Network Policy Server.
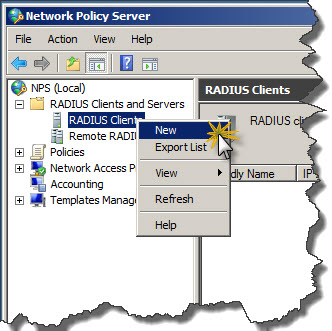
- Expand RADIUS Client and Servers.
- Right-click on RADIUS Clients and click New from context menu.
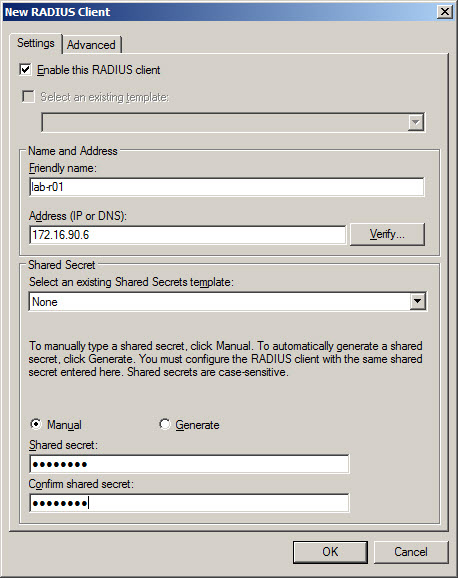
- In New RADIUS Client window Settings tab enter:
- Friendly name of the router – name to recognize router, usually same as hostname.
- Address (IP and DNS) – IP address of the router or hostname – if hostname used proper hostname needs to be registered in DNS prior to RADIUS configuration.
- Shared secret – passphrase which was configured on router which will allow to identify router when requesting AAA from RADIUS.
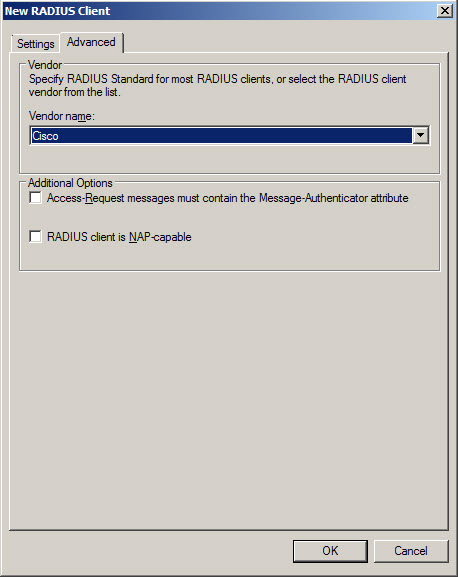
- In New RADIUS Client window Advanced tab enter:
- Vendor name – Cisco – as in this example Cisco router will communicate with RADIUS.
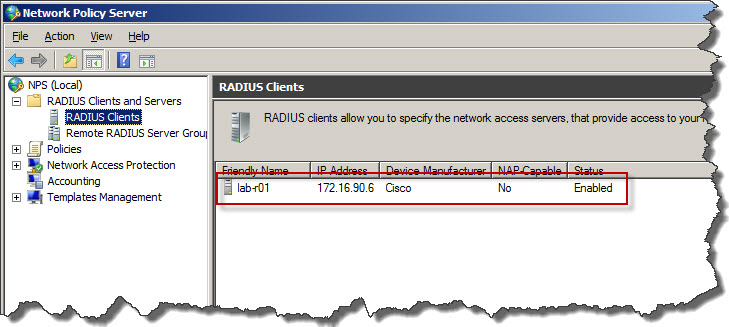
- Once confirmed with OK we will see that router has been added to RADIUS configuration as client.
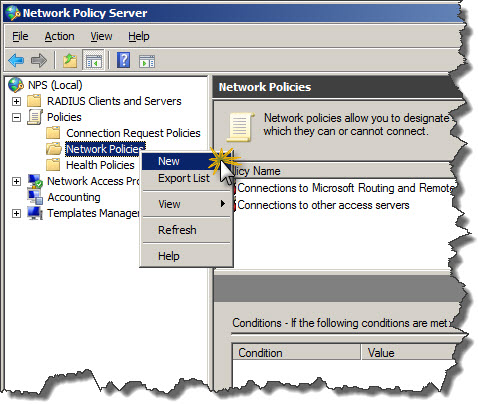
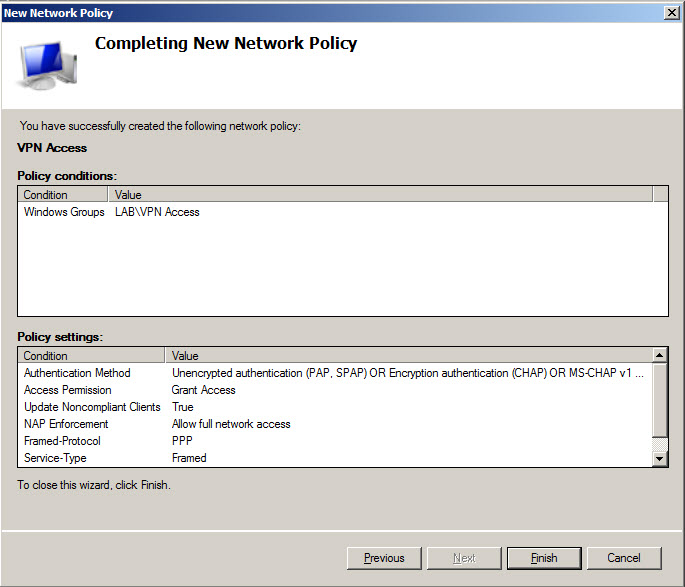
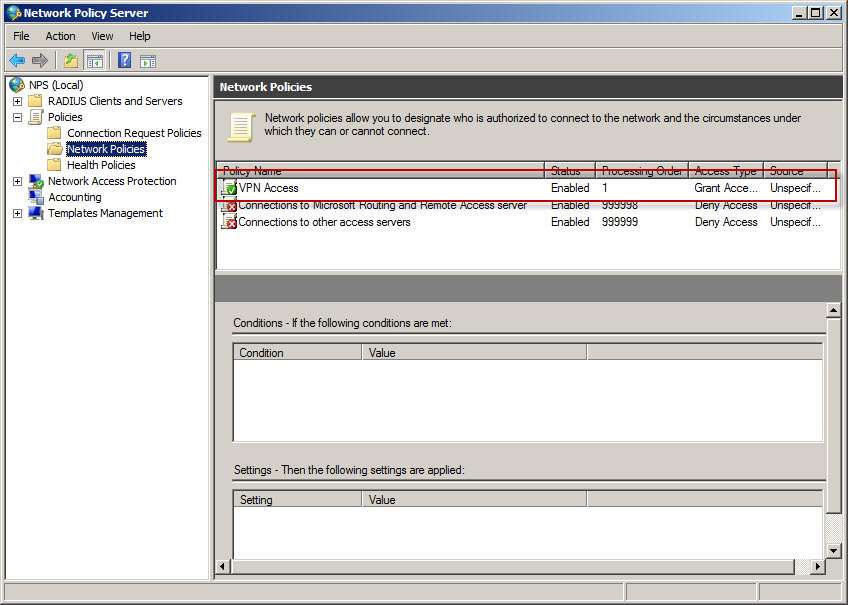
Define VPN access policy
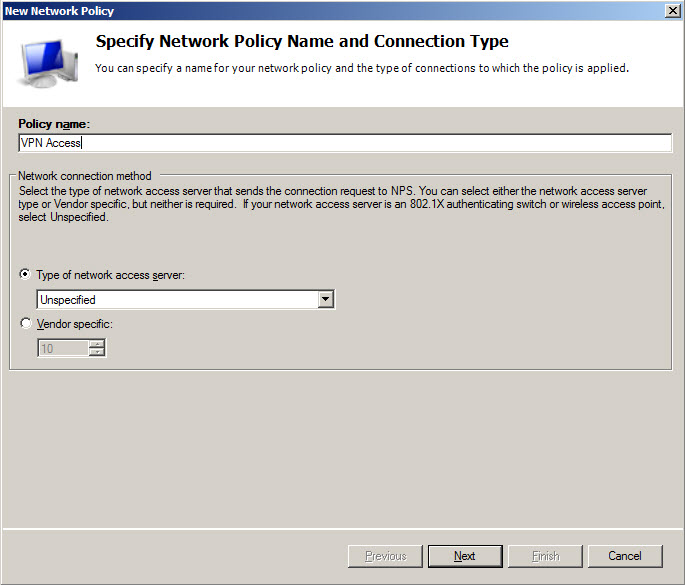
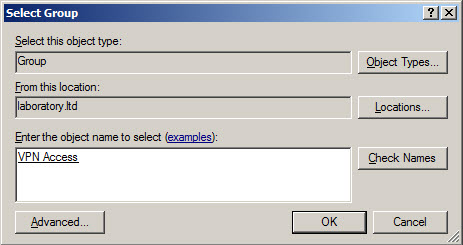
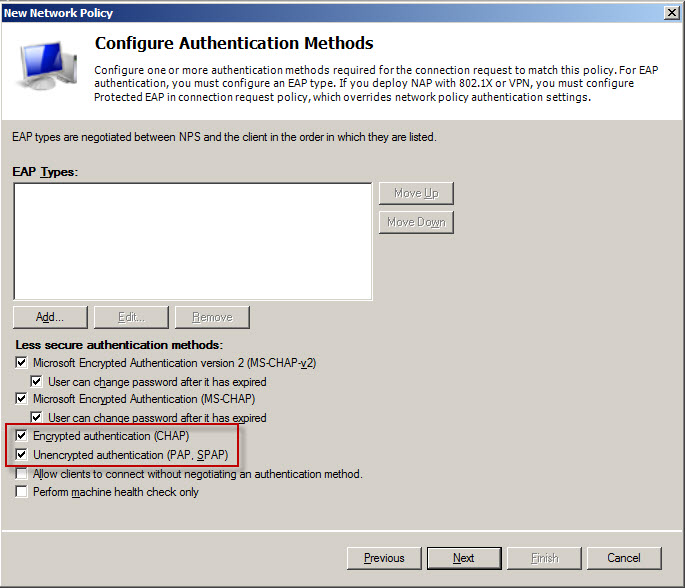
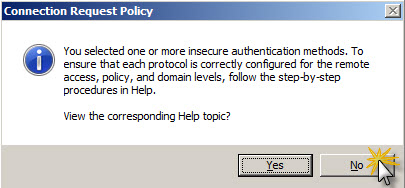
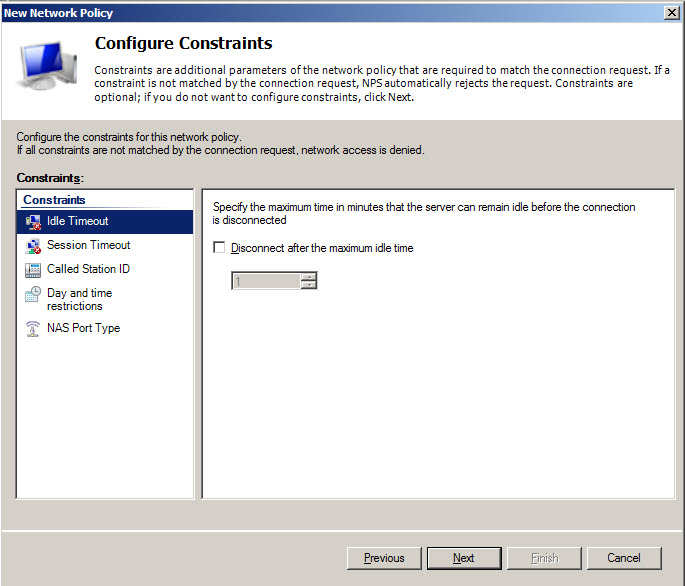
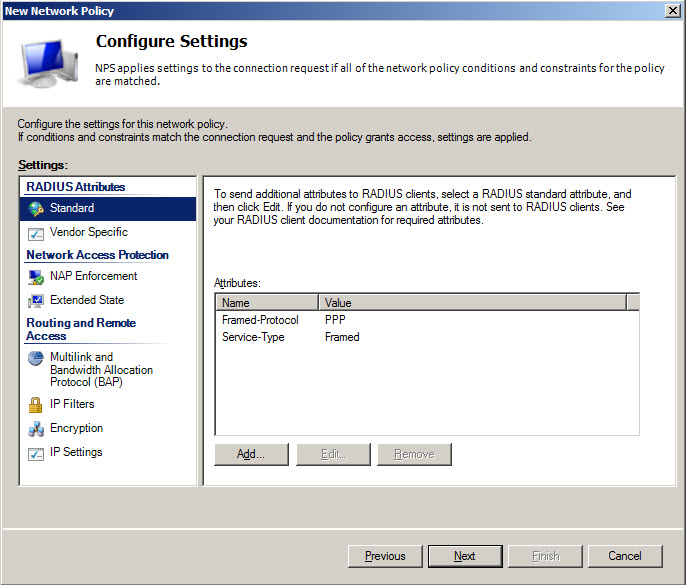
Screen 9
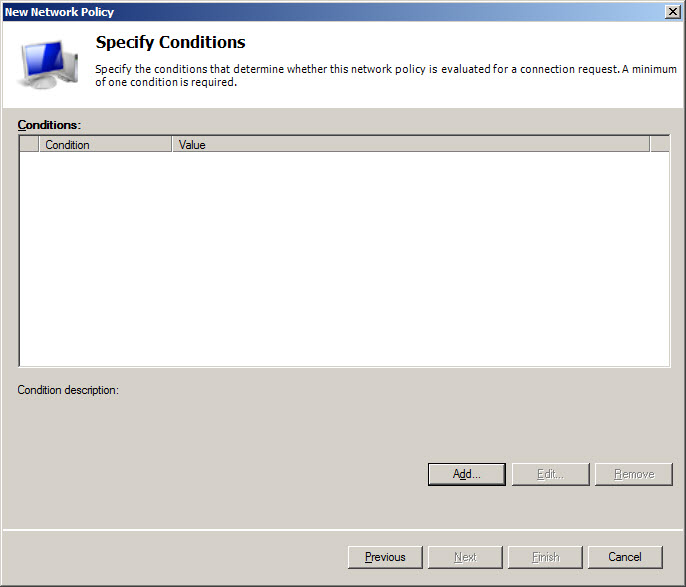
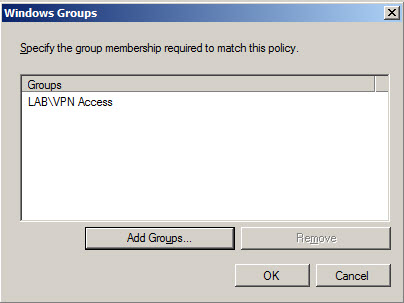
Screen 10
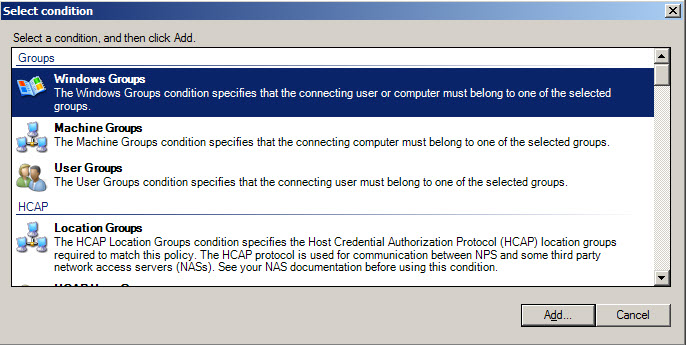
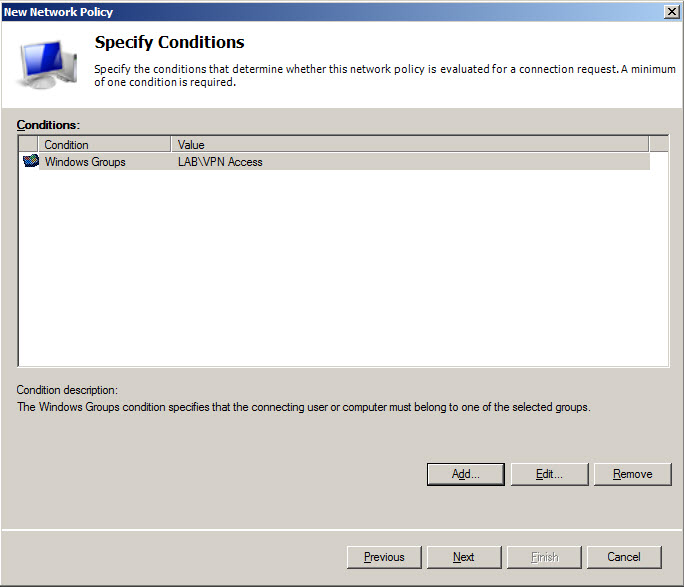
Screen 11
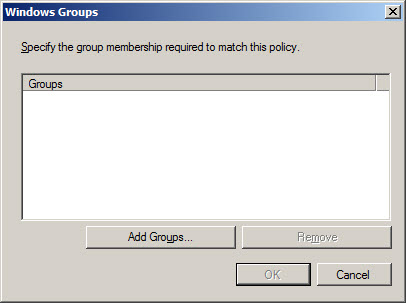
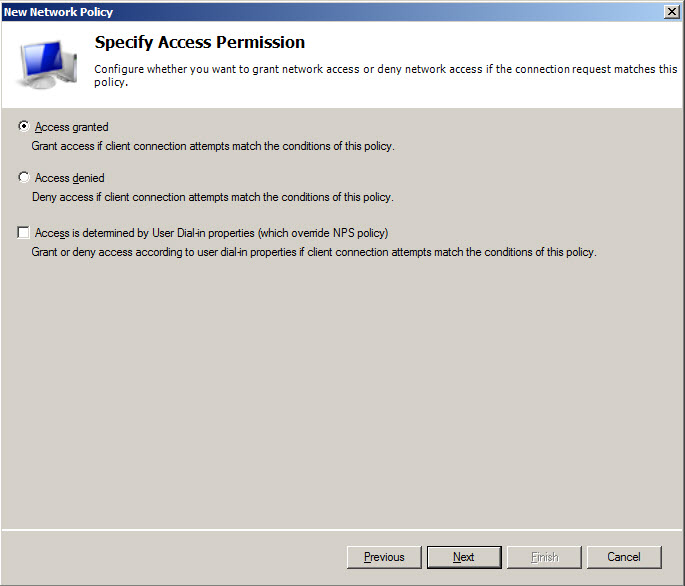
Screen 12
Screen 13
Screen 14
Screen 15
Screen 16
Screen 17
Screen 18
Screen 19
Screen 20
Screen 21
Screen 22
!
!
!

